


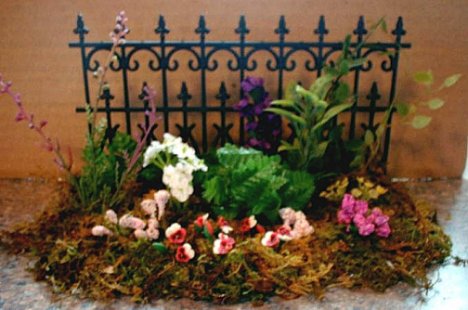
Learn To Build
A Flower Border
by Tracy Topps
Materials Needed
- 6�" Dolls House Fence Section
- Glue Gun
- Strong 8" Cardboard Sheet
- Scissors
- Small Bowl of Cold Water
- Paper Towels
- Moss, sheet type
- Small Vine
- Small Fern Pieces
- 15-20 Tiny Assortment of Plastic Flowers, (in your choice of colors)
- Bunch of Clay Flowers
- 3-5 Small Plastic Plants
- Green Polyfiber
- Optional, fountain or other decorative garden pieces
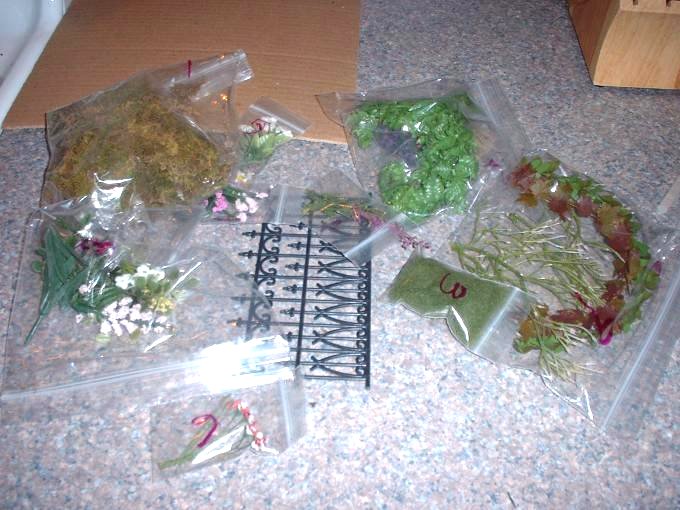
 Close-up images of materials needed
Enlarge picture of basic supply requirements
TIP
As you've noted from the materials list, I've included a small bowl of cold water. This is used just in case you burn your fingers with the hot glue! You can dip your burned finger into the water, which will make the glue peel off without too much pain.
As you've noted from the materials list, I've included a small bowl of cold water. This is used just in case you burn your fingers with the hot glue! You can dip your burned finger into the water, which will make the glue peel off without too much pain.
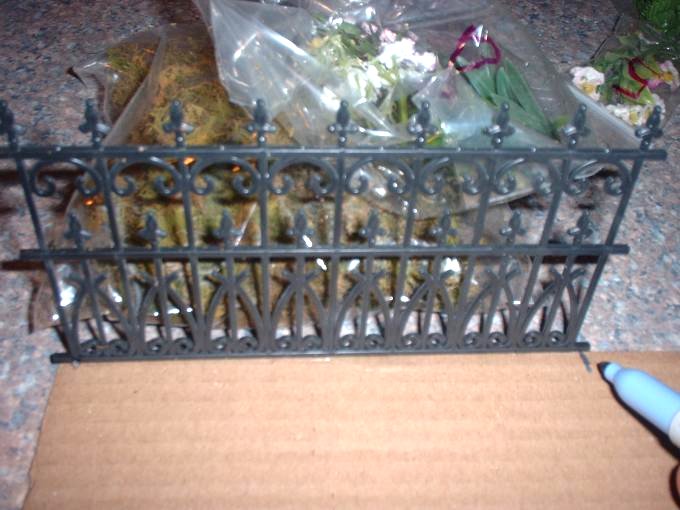
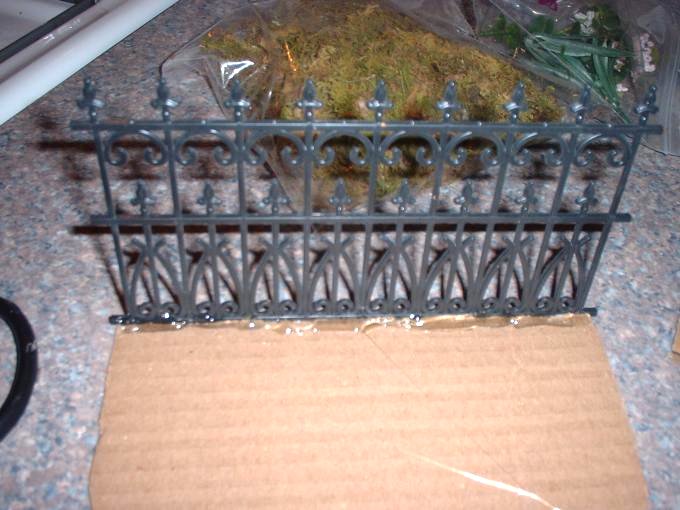
 1. Take your fence and put it at the end of your cardboard. Make a line on the other end so you will know where you are going to cut it at the end. I cut around 3" in front of the fence by 6 1/2" wide by 3" deep. You can make it deeper. Mark the measurements about 3�"-4" deep if you are going to use a fountain or other decorative garden piece in the center.
Enlarge picture marking the width of cardboard base
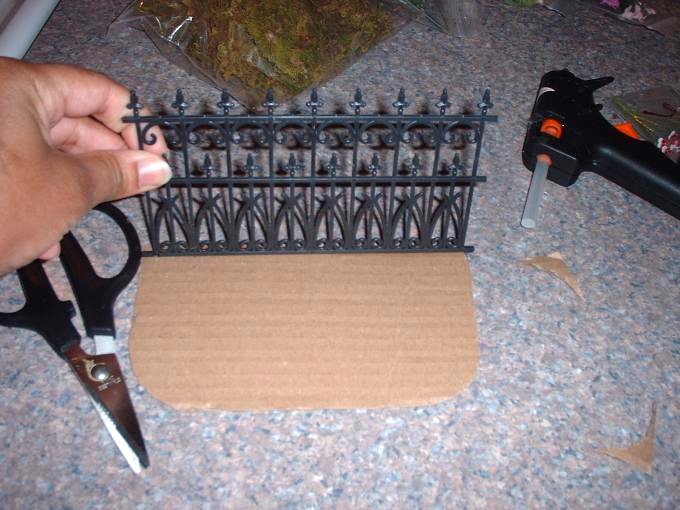
 2. Cut the cardboard and round the edges. You can leave it square if you like, but I always prefer to round my edges.
Enlarge picture showing size of cardboard base after cutting
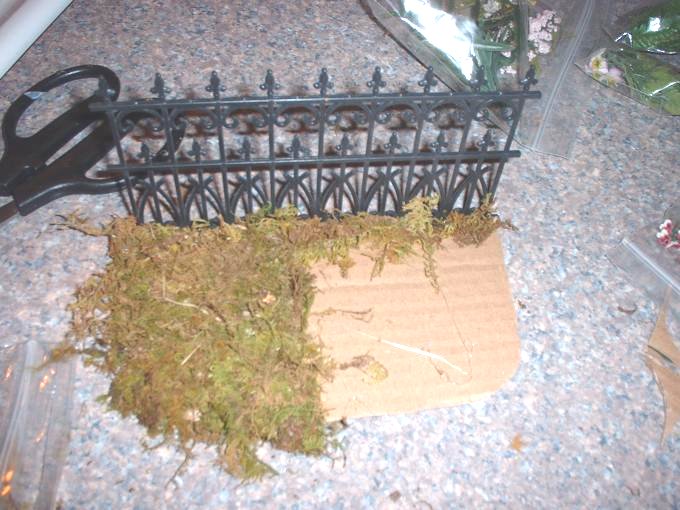
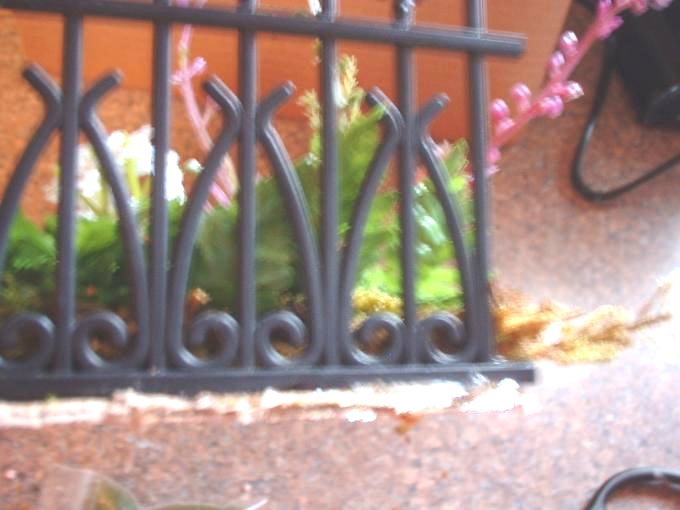
 3. Using your glue gun, add glue under your fence and press it to the straight (back) end of the cardboard base. Hold it in place and you can blow on it until it dries.
Enlarge picture showing where to glue the fence down
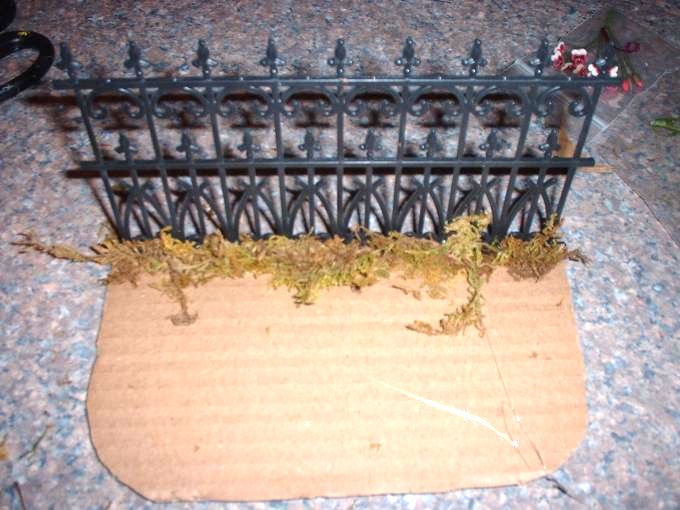
 4. Press the sheet moss on the glue! Be careful it may be hot. If you are using a bird bath or other decorative piece, now is the time to add it in the center. Make sure you have centered the added piece.
Enlarge picture showing how to add the first sheet moss
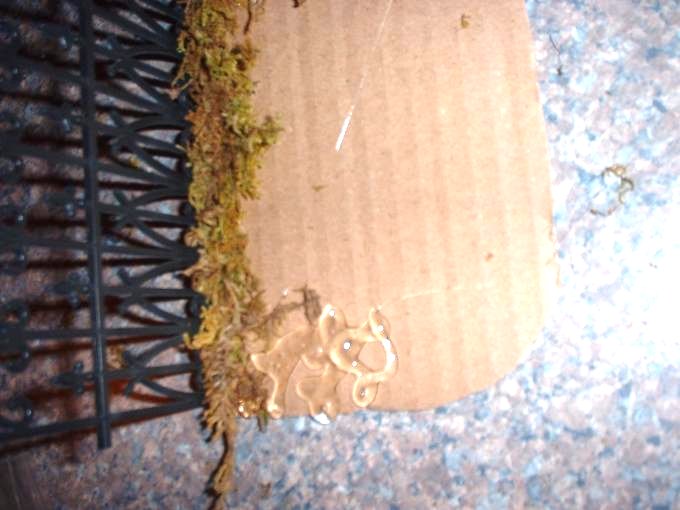
 5. Now add a bit of glue in the corner of the cardboard (see image).
Enlarge picture showing where to add more glue
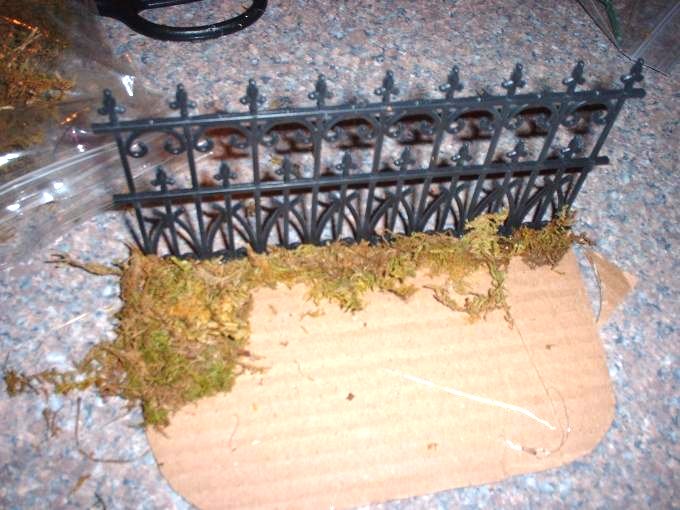
 6. Now add more sheet moss to the glued area while it is still hot. Press hard enough so that the glue grabs.
Enlarge picture showing where to add glue and moss
 7. Add more glue, right below the area on the last step. Then add sheet moss to it the same way you did previously.
Enlarge picture continuing to glue and moss
 8. Keep repeating these steps until you have completely covered the entire base. For those of you with bird baths, etc. you will need to add sheet moss up to the base. Press firmly so that you cannot see the bottom of your bird bath, feeder, etc.
Enlarge picture showing complete covering and adding garden accessories
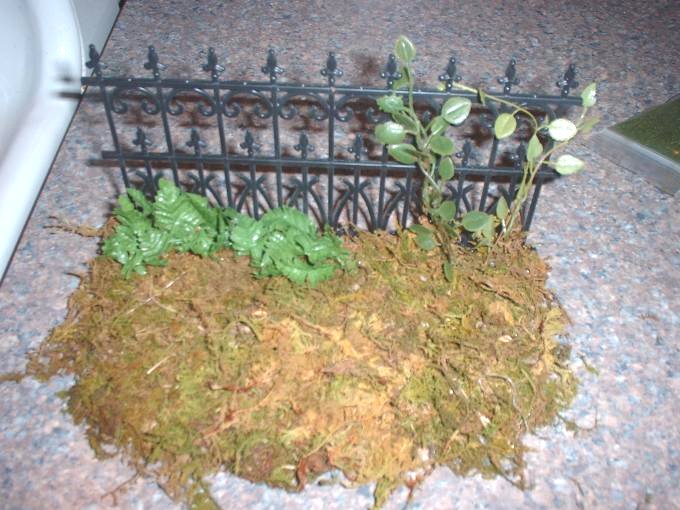
 9. Checking progress so far.
Enlarge picture to showing progress so far
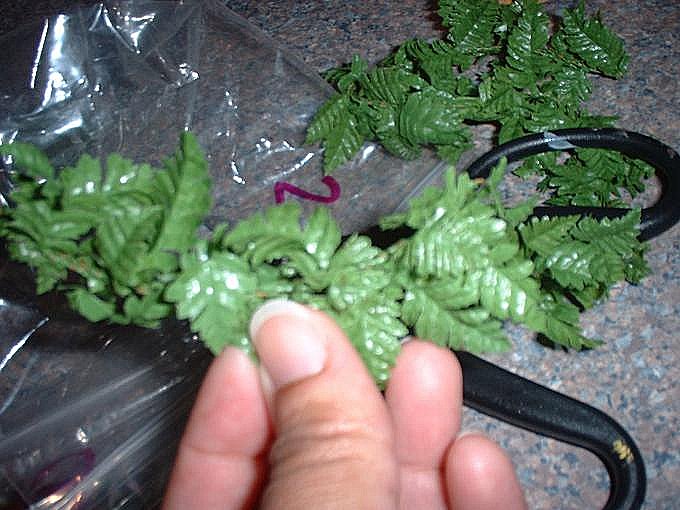
 10. Now we want to start adding flowers to the back of the fence. Take your fern and cut it to a size that you like. Snip a piece of wire and twist it around the bottom of the fern piece. Now add a touch of glue at the bottom of the wire. Press it down firmly into the moss base.
Enlarge picture showing how to add the fern
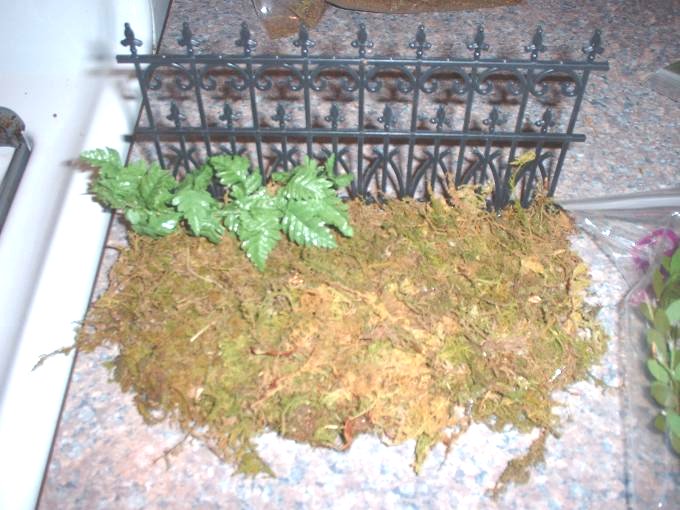
 11. Showing where to place the fern along the fence line.
Enlarge picture showing the placement of the fern
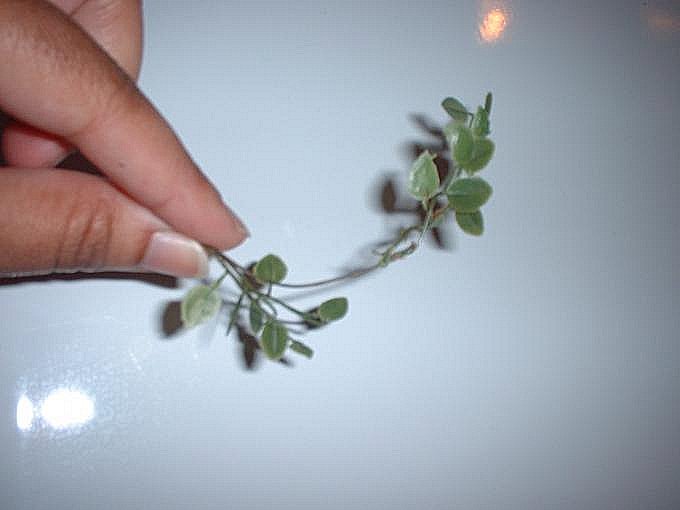
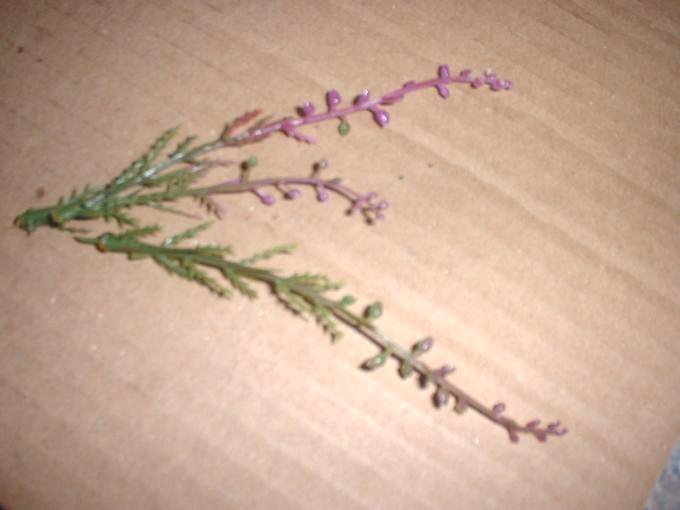
 12. Take out your small vine.
Enlarge picture showing the vine
 13. Add a dollup of glue to the bottom of the vine.
Enlarge picture on where to add glue
 14. Once the vine is in place, add a little of your sheet moss on top to cover the glue. Press hard and toward the fence so that it will stand up straight.
Enlarge picture showing how to cover the base of the fern
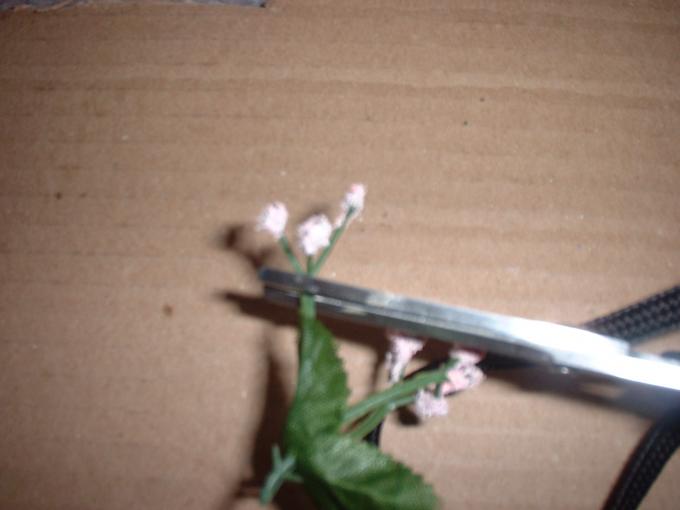
 15. Take your tiny flowers bunches. Cut the top part off (so that the three parts are still connected). Doing them this way will make the flowers look more like a 1" scale.
Enlarge picture showing how to prepare the flowers
 16. After cutting the flowers, you will have three tiny flowers per bunch, see image.
Enlarge picture showing the cluster of flowers
 17. Add a drop of glue to the bottom of the flower cluster and place it down into the moss.
Enlarge picture showing glue & placement
 18. Place them in a cluster around each other within the mossy areas.
Enlarge picture showing the flower clusters
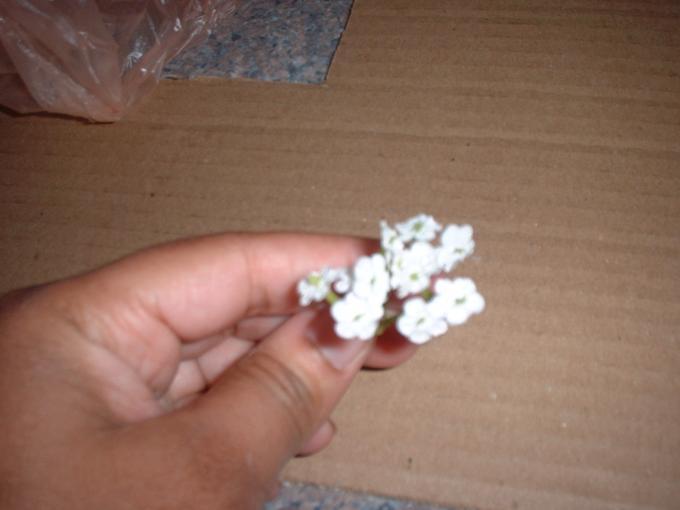
 19. Now choose your bunch of white flowers. Add glue to the bottom of this bunch and press down and add a pinch or sheet moss around the bottom area. This will aid the flowers to stand tall. If they lean, add a small drop of glue and press more moss around the bottom to make the flowers stand straight up.
Enlarge picture showing how to straighten the flowers
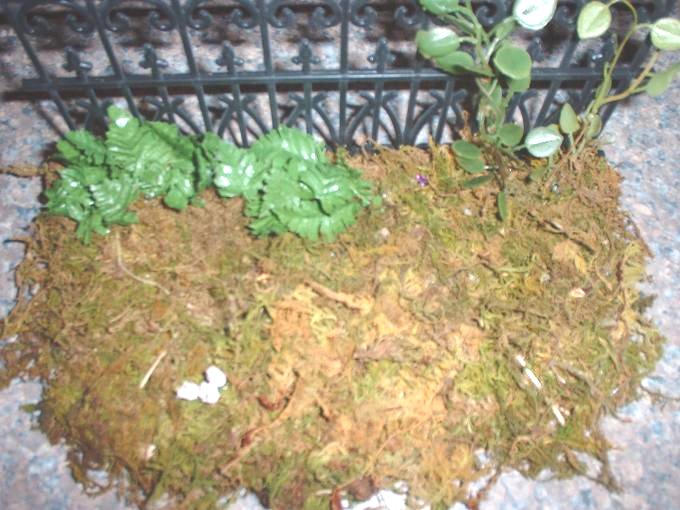
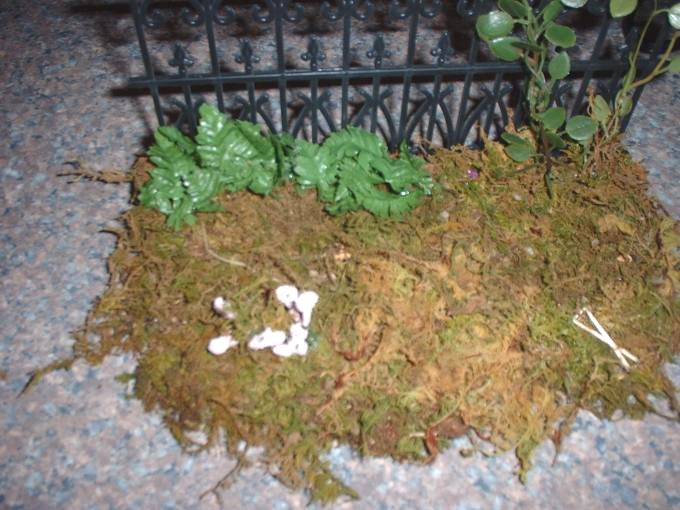
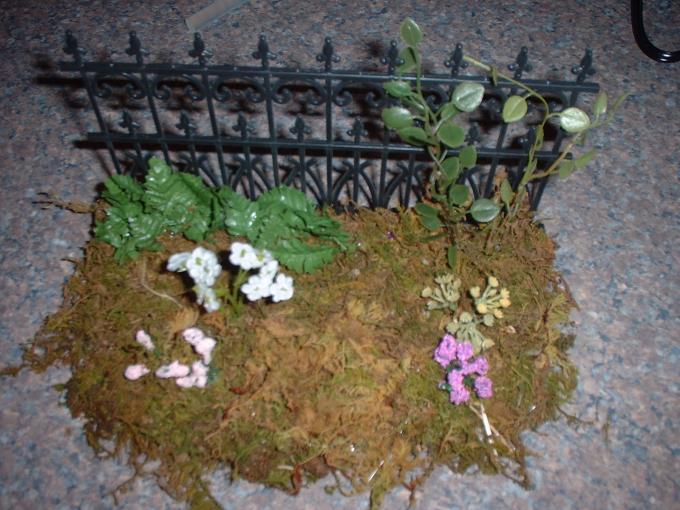
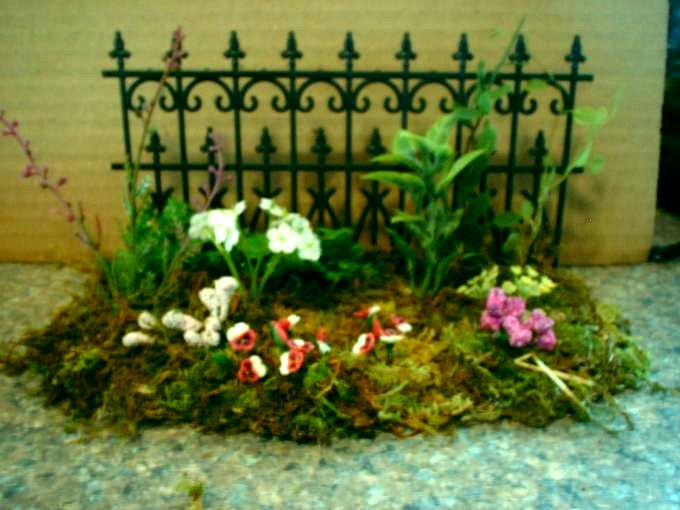
 20. This is where you should be so far (see image).
Enlarge picture showing garden so far
 21. Take a small bunch of light colored flowers. Add glue to the bottom and press into the moss.
Enlarge picture adding more flowers
TIP
Always remember, smaller flowers should be in the front and larger flowers look better in the back.
Always remember, smaller flowers should be in the front and larger flowers look better in the back.
 22. Cluster the flowers in threes. This adds symmetry to the garden.
Enlarge picture showing flower clusters in threes
 23. Now select any of your plants (without flowers). Add them to the border in the back. Larger flowers go in the back.
Enlarge picture showing border plants
 24. Remember to use a pinch of moss around the base of the plant and press it firmly to help the plants stand straight up.
Enlarge picture showing moss being added to plants
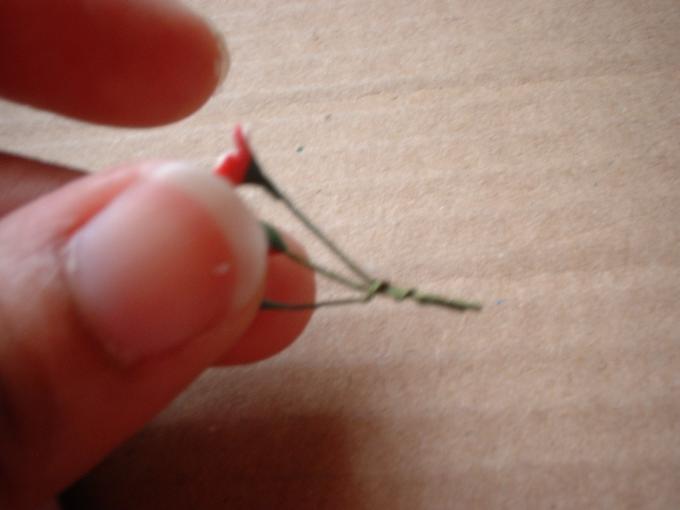
 25. Next, take your clay flowers. Cut the wire stems about 1� inches below the flowers.
Enlarge picture showing preparation of the clay flowers
 26. Take three individual flower stems then twist the wires together.
Enlarge picture showing clay flowers twisted as one stem
 27. Add glue to the bottom of one bunch; press the bunch into the sheet moss. This will be your choice of placement, either in a nice grouping or spattered around the garden. As you see in the image, I made a grouping of mine.
Enlarge picture showing clay flower placement
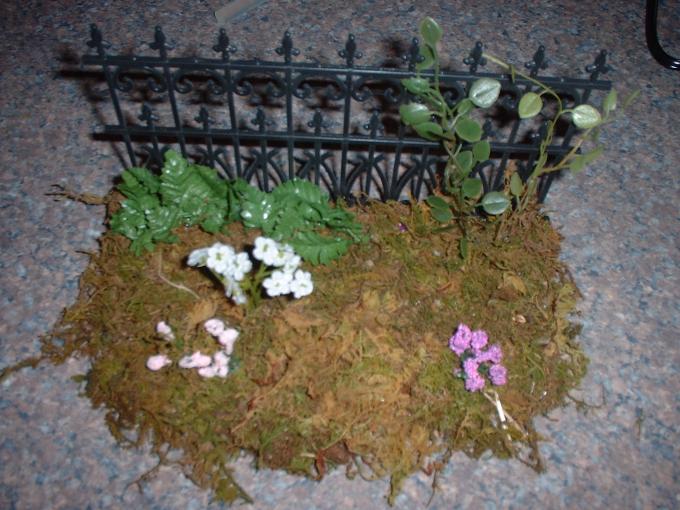
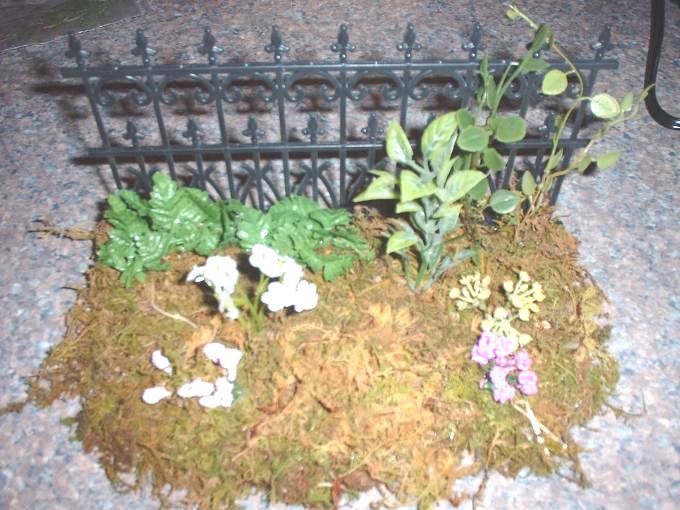
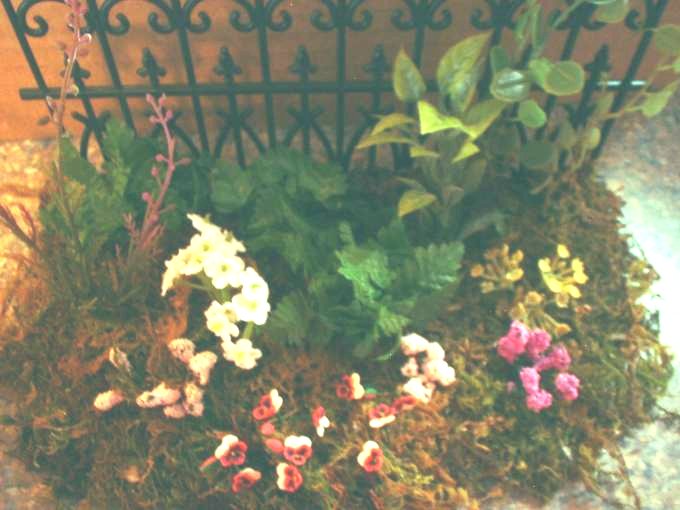
 28. Progress of border plants and flowers so far.
Enlarge picture showing progress so far
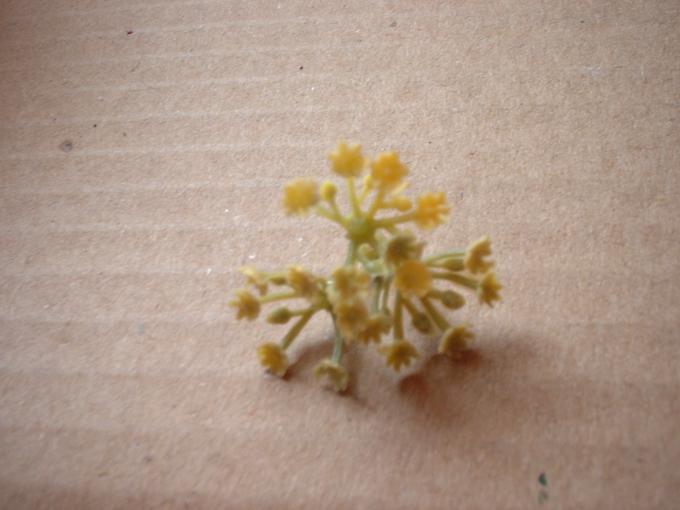
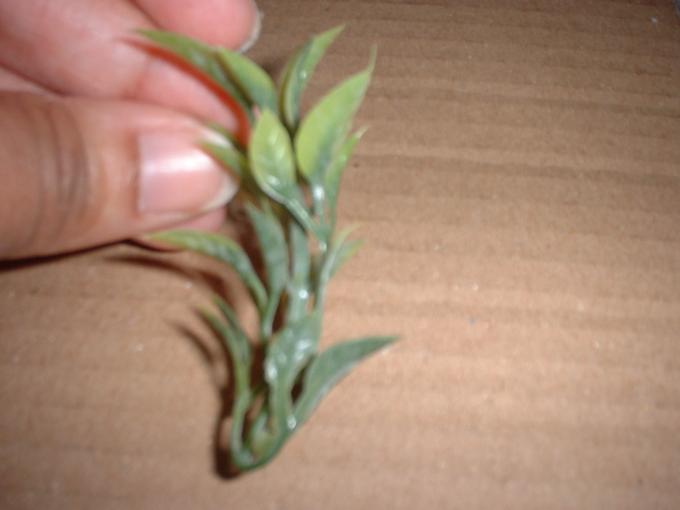
 29. Now select a tall greenery piece that has foliage at the bottom and flowers at the top (see image) to add to your border.
Enlarge picture showing new border flowering shrub
 30. Again, add glue to the bottom of the flowering plant and press into the sheet moss. Cover the base with moss if the glue is exposed.
Enlarge picture showing garden border after shrub placement
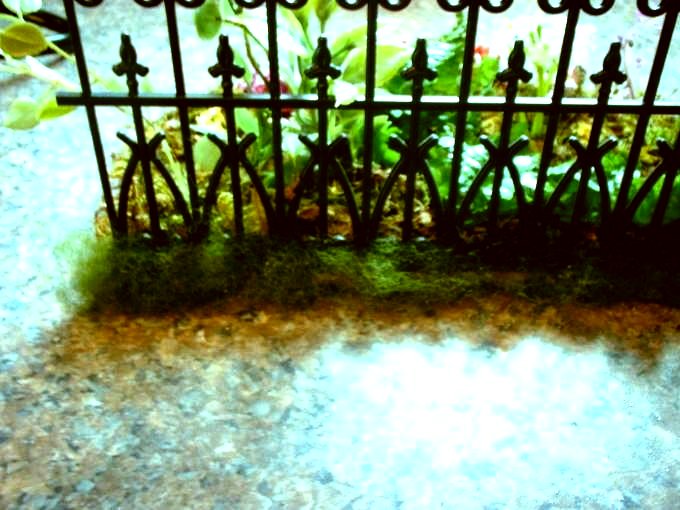
 31. Now turn your fence around to the back like it is shown in the image. You will be using the green polyfiber next. Remove a small piece and set aside. Add glue along the fence line.
Enlarge picture showing polyfiber preparation
TIP
You can use sheet moss if you do not have polyfiber.
You can use sheet moss if you do not have polyfiber.
 32. Press the polyfiber to the glued area. BE CAREFUL this the glue will be HOT. Polyfiber is very thin material and you can burn yourself. Do this on the entire fence line.
Enlarge picture showing pressed polyfiber to the glue area
 33. Trim off the excess polyfiber with your scissors.
Enlarge picture showing trimmed polyfiber
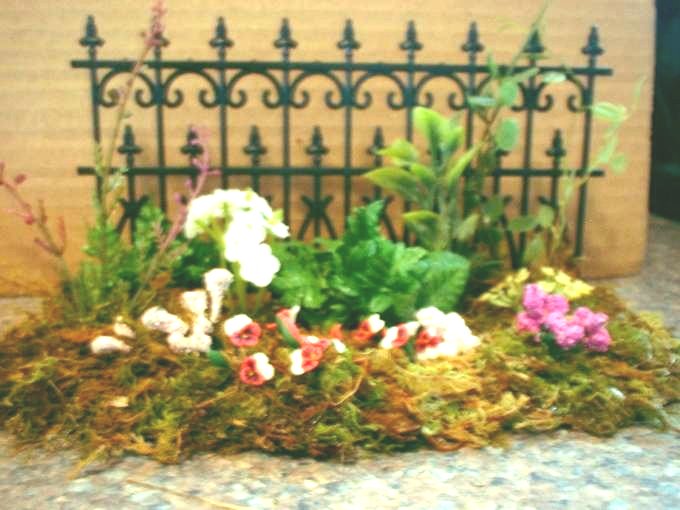
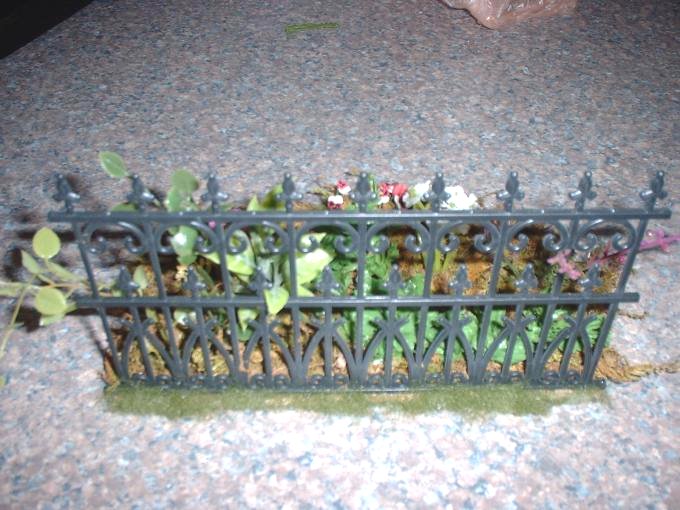
 34. Look over the front flower border! Do you need additional flowers or plants? In my case, I felt that I did, so I've added additional foliage.
Enlarge picture to check over the garden
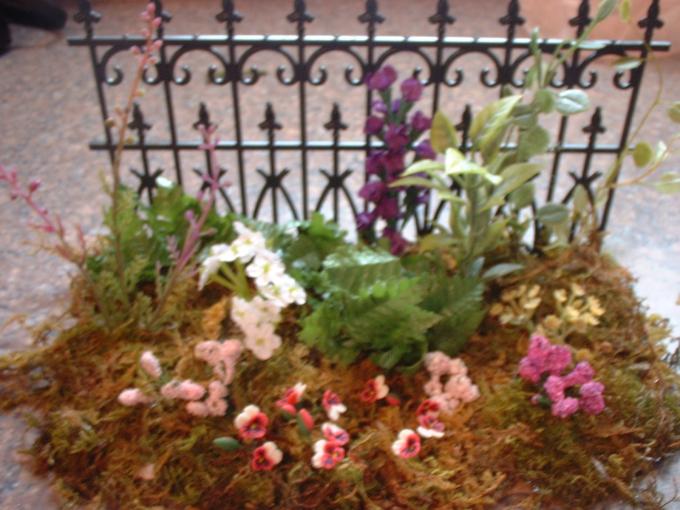
 35. I added purple flowers next to the vine. Now you can pick any flowers in your supply. Remember to add larger flowers or plants in the back; smaller foliage should be towards the front.
Enlarge picture showing final touches
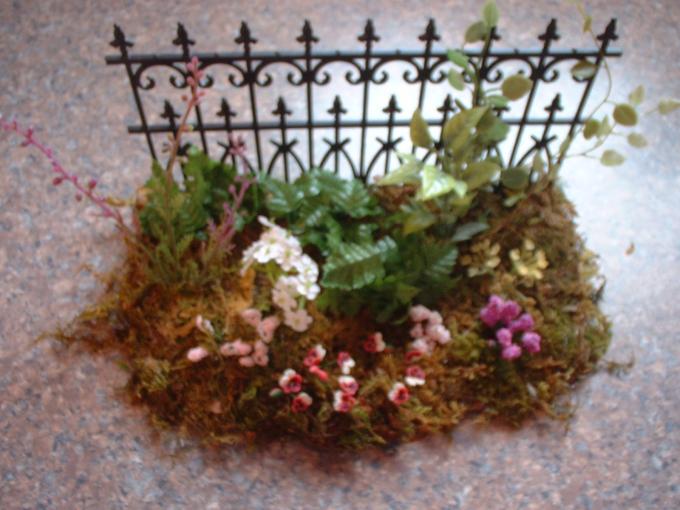
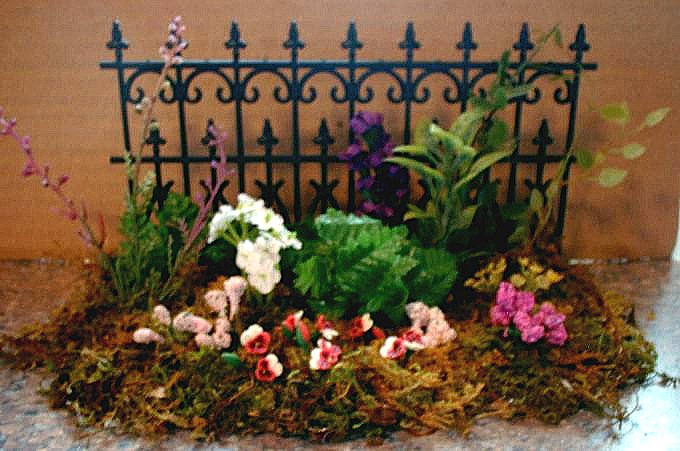
 36. Now you can take these tips and create yards for your houses. Enjoy and play with these steps more to make the garden your own design. It's really fun to do and it adds realism to your houses. When you shop, look for flower bunches that can become mini flowers. They are out there so have fun!
Enlarge picture showing completed border
ABOUT THE ARTIST
 Tracy Topps has loved dolls house miniatures for as long as she can remember. About 12 years ago, she started building kits for friends and family. Little did she realize it would turn into a business. Tracy has always loved the Greenleaf dollhouse kits. A lot of people look at dollhouse kits and don't see them the way she does. Her goal is to help people see what these tiny mansions can become. With time and patience and a touch of imagination, she says anyone who has a miniature dream can have it realized in a dollhouse kit. Tracy is now the Administrator for the Greenleaf Dollhouses Forum as well as Global Moderator for CDHM.
Tracy says that her husband has always supported her in her dreams and that her father & mother inspired her to have dreams; and that her kids are "dreams that have come true". The encouragement from her family she considers priceless.
Tracy is a valued member and Global Administrator of the CDHM Forums and has a CDHM Gallery that you can visit here.
You can also visit Tracy's personal website, just click here.
Tracy Topps has loved dolls house miniatures for as long as she can remember. About 12 years ago, she started building kits for friends and family. Little did she realize it would turn into a business. Tracy has always loved the Greenleaf dollhouse kits. A lot of people look at dollhouse kits and don't see them the way she does. Her goal is to help people see what these tiny mansions can become. With time and patience and a touch of imagination, she says anyone who has a miniature dream can have it realized in a dollhouse kit. Tracy is now the Administrator for the Greenleaf Dollhouses Forum as well as Global Moderator for CDHM.
Tracy says that her husband has always supported her in her dreams and that her father & mother inspired her to have dreams; and that her kids are "dreams that have come true". The encouragement from her family she considers priceless.
Tracy is a valued member and Global Administrator of the CDHM Forums and has a CDHM Gallery that you can visit here.
You can also visit Tracy's personal website, just click here.
© 2007-2012 Tracy Topps
Reproduced with permission from Tracy Topps. All photographs and text appearing in this tutorial are the exclusive property of Tracy Topps. Permission is explicitly denied for any republication of text or photographs in this article without the prior express written consent of the author.