


Learn To Sculpt
Miniature Peaches
in 1:12 Scale
with IGMA Fellow
Betsy Niederer
Materials Needed
- Premo� Polymer Clay
- Cadmium Yellow
- Translucent
- Raw Sienna
- White - Fimo� Polymer Clay
- Leaf Green (or you favorite clay in an equivalent color)
- Translucent - Chalk Pastel - Red
- Small Soft Paint Brush
- Single Edge Blade
- Stem Tool or Ball Ended Tool
- Cornstarch
- Pin
- Dental Tool (optional)
CLAY RECIPE
• Peach Yellow: � Cadmium Yellow + � Translucent
• Stem Brown: � Raw Sienna + � White (You will only need a tiny amount of this)
• Green Leaf: � Leaf Green + � Translucent
• Make sure your clay is well mixed.
• Peach Yellow: � Cadmium Yellow + � Translucent
• Stem Brown: � Raw Sienna + � White (You will only need a tiny amount of this)
• Green Leaf: � Leaf Green + � Translucent
• Make sure your clay is well mixed.
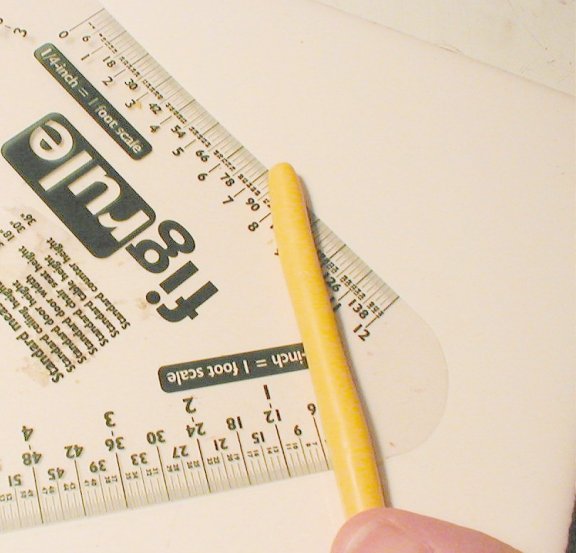
 1. To start, roll your yellow clay into a snake, about � inch in diameter.
Enlarge picture showing rolled clay
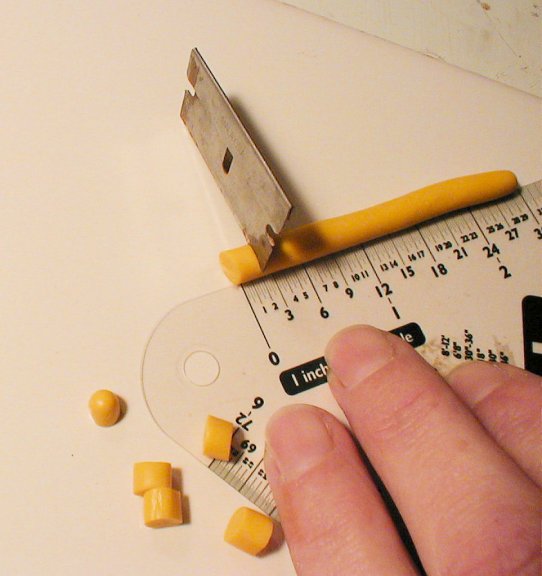
 2. Using your blade, carefully cut the yellow snake of clay into about 1/6th of an inch pieces, and roll the pieces into round balls.
Enlarge picture showing size of pieces to cut
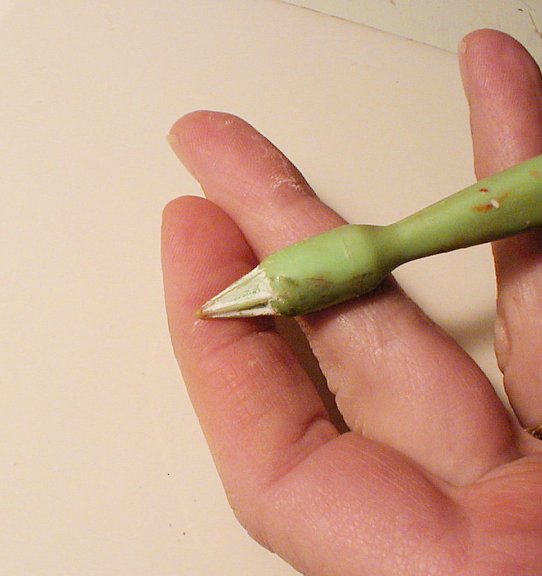
 3. This is a stem tool. It's used for making icing flowers. This particular one is plastic and is part of a "Confectionery Tool Set" which is sold by Wilton Industries�. It's plastic and therefore, must be cleaned thoroughly after any contact with polymer clay. As you can see, my tool has started to 'melt' from not being well cleaned. Once icing tools have been used for polymer clay, they must not be used with food. If you do not have a tool like this, a small ball ended tool will work very well.
Enlarge picture showing the stem tool
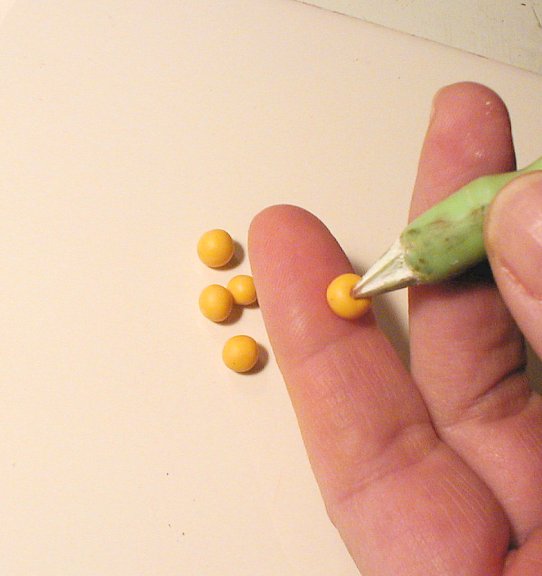
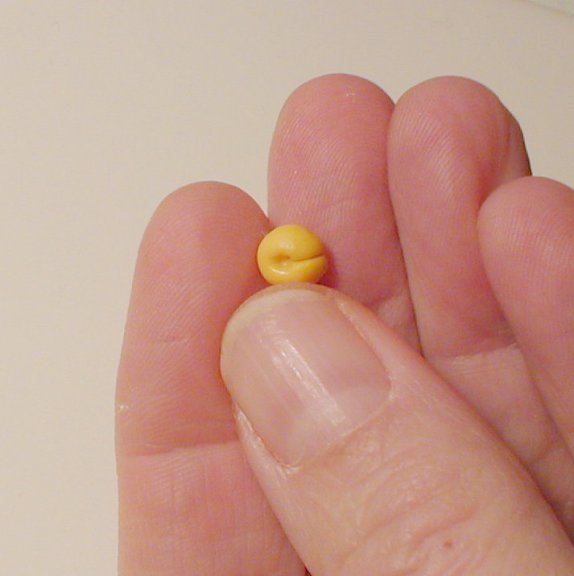
 4. Using a stem tool or a ball ended tool, poke a small indentation into the top of your clay peach.
Enlarge picture showing where to make the indentation
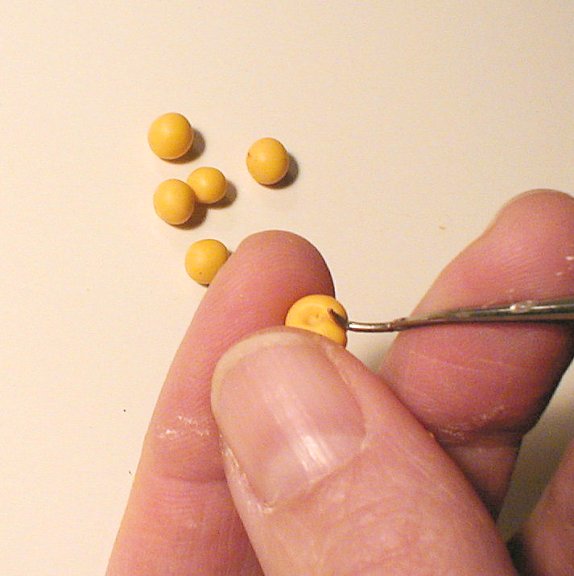
 5. Using either your dental tool, or a pin, make an indentation down the side of the peach from the stem end on top to the blossom end on the bottom.
Enlarge picture showing where to make indent down the side
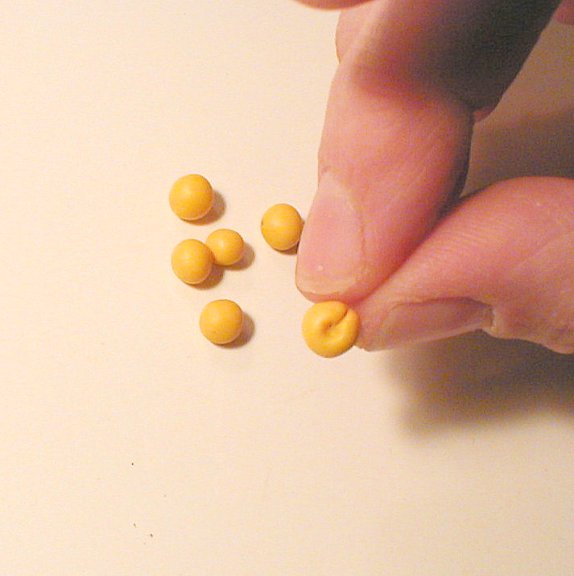
 6. Your peach should look something like this.
Enlarge picture showing peach so far
 7. Using your fingers, very gently form a slight point on the bottom of your peach. This will be the blossom end.
If your clay feels sticky, dust your fingers with a little bit of cornstarch, and letting your clay rest for a few minutes will allow it to cool off a bit.
Enlarge picture showing side indent on peach
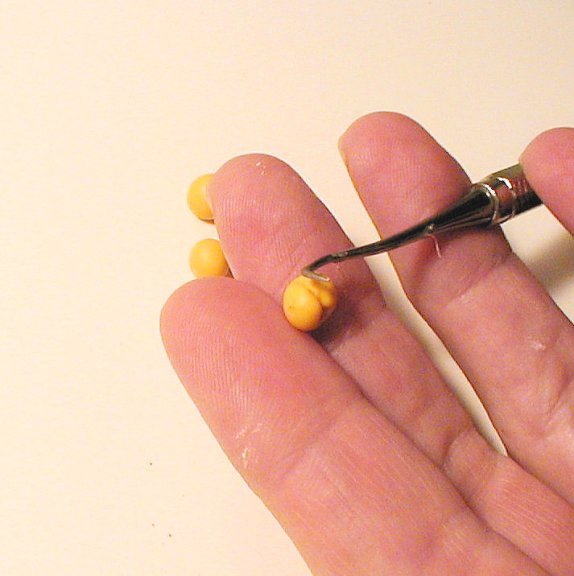
 8. Using your fingers, very gently squeeze the indentation on the side closed so that your peach looks like it has 'cleavage'.
Enlarge picture showing how to place the watercolour paper
 9. Side view of the peach 'cleavage'. If you have fingerprints on the side of your peach, you can gently rub them out with a bit of cornstarch.
Enlarge picture showing peach cleavage
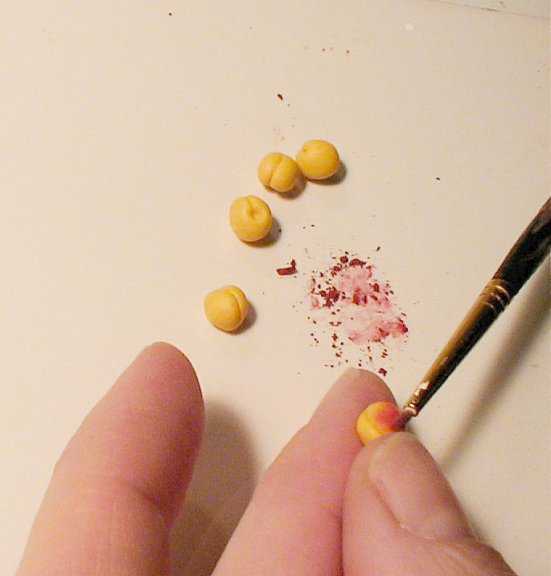
 10. Crush some of the red chalk, and using your small, soft brush, apply some red to the sides of your peach. Try to remember what a real peach looks like. It usually only has red on one side, and yellow on the other. If possible, use a real peach as a model.
Enlarge picture showing how and where to apply artist chalk
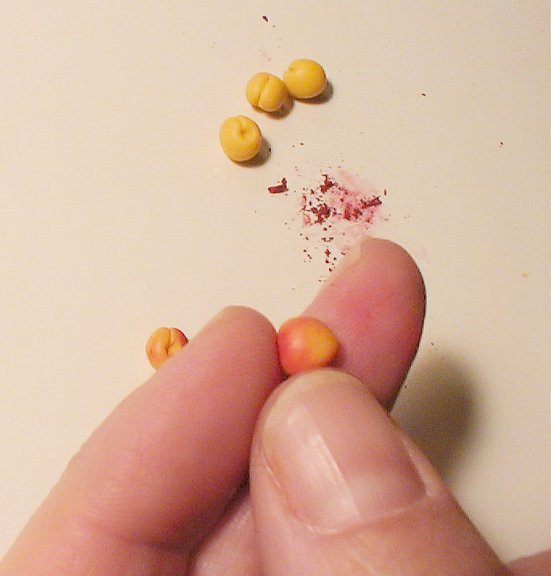
 11. The color should look very soft and blended on the side of the peach. Don't be afraid to add the chalk, you want the fruit to have vibrant color!
Enlarge picture showing how to blend the artist chalk
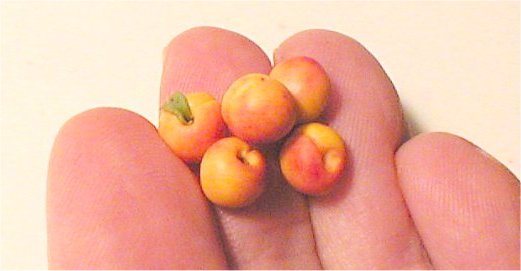
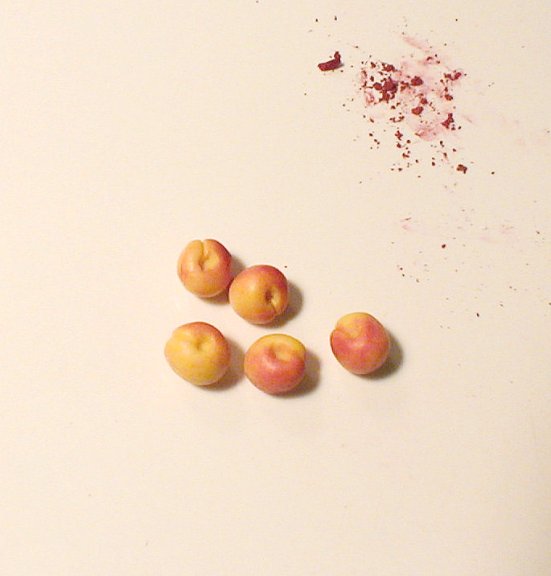
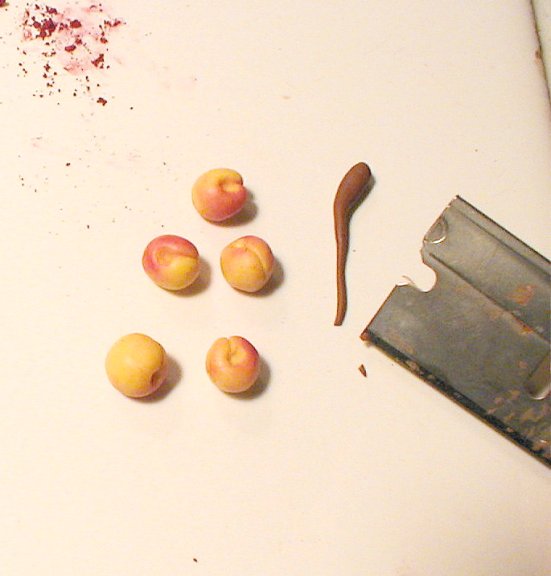
 12. Here are some peaches that have been colored. Please notice that I have left part of the skin yellow.
Enlarge picture showing applied artist chalk
 13. Using the brown 'stem' colored clay, roll a very thin snake shape.
Enlarge picture showing how to create stem
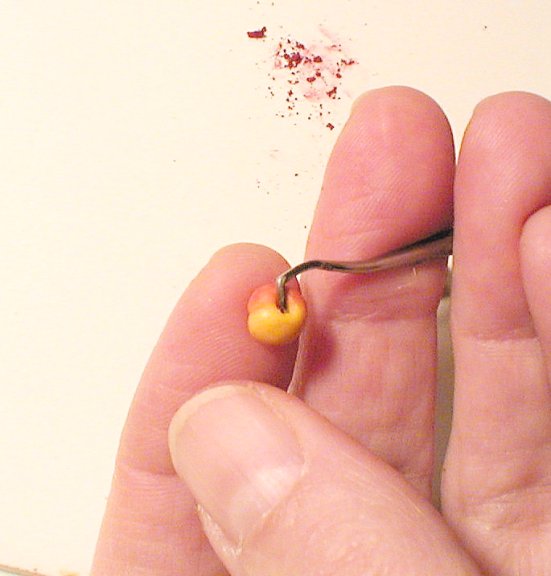
 14. Using your pin or your dental tool, take a very tiny piece of the brown clay and insert it into the indentation on the top of the peach. When you pick peaches, most of the time the wooden stem comes off the peach and stays on the tree. Peaches usually only have a light brownish colored spot on the inside of the indentation on top.
Enlarge picture showing stem
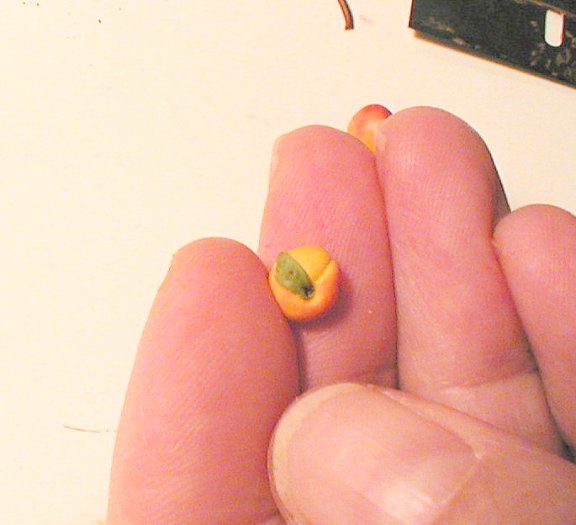
 15. Using your green clay, make a small leaf shape. Peach leaves are generally long and thin. Use your pin or dental tool to form a 'vein' on the leaf.
Enlarge picture showing how to create the leaf
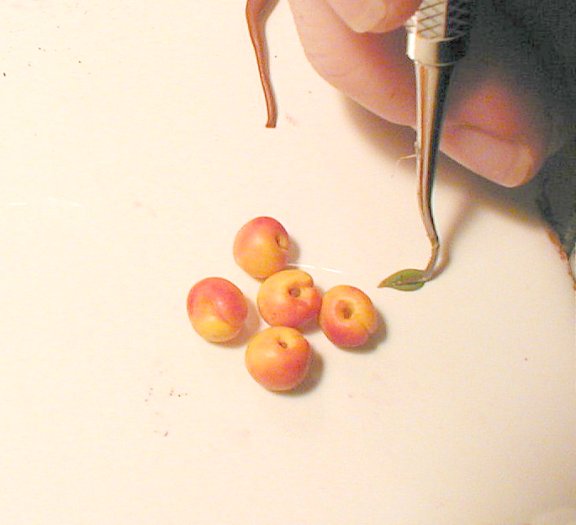
 16. Attach the leaf to the peach center.
Enlarge picture showing where to attach the leaf
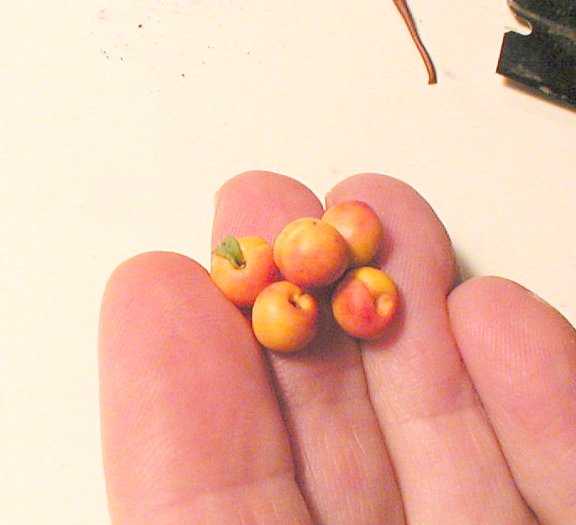
 16. Your peaches should look like this.
Enlarge picture showing peach so far
BAKING INSTRUCTIONS
Bake your peaches at the correct temperature for the clay that you are using. When the peaches are cool, you do not have to add any varnish or sealer as the red color will bake into the clay. If there is any excess chalk on your peaches, just wipe it off with a soft cloth.
Make sure that you wash your hands well after using polymer clay.
ABOUT THE ARTIST
 Betsy Niederer has been making miniatures for five years, after discovering that she could make miniature food for her children's Barbie� kitchen.
She is an IGMA member since 2003, an IGMA Fellow (Food category), and since 2006 a Guild school instructor.
Betsy Niederer has been making miniatures for five years, after discovering that she could make miniature food for her children's Barbie� kitchen.
She is an IGMA member since 2003, an IGMA Fellow (Food category), and since 2006 a Guild school instructor.Betsy is a valued member of CDHM and Moderator in the CDHM Forum, Food Board. Betsy's CDHM Gallery can be viewed just by clicking here.
© 2007-2012 Betsy Niederer and CDHM.org
Reproduced with permission from Betsy Niederer. All photographs and text appearing in this tutorial are the exclusive property of Betsy Niederer. Permission is explicitly denied for any republication of text or photographs in this article without the prior express written consent of the author.