


Learn To Sculpt
1:12 Green Apples
with Italian Artist
Barbara Dezza
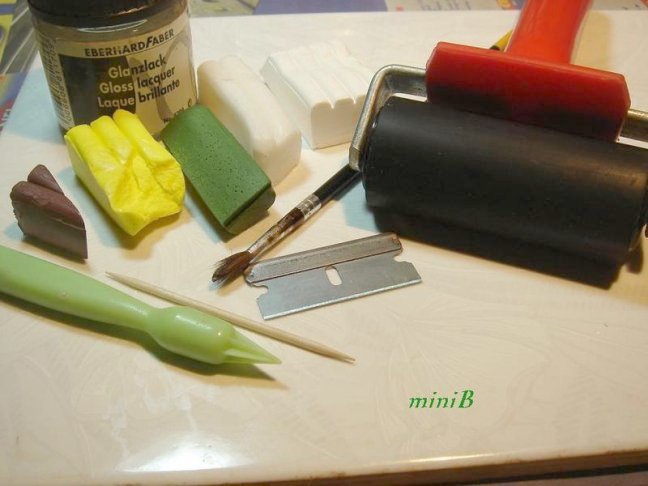
Materials Needed:
- Polymer Clay
- Green: (Green Spring or Green Leaf)
- Terracotta
- Translucent
- White
- Yellow - Chalk Pastels
- Green
- Red - Wilton Industries© Flower Tool Or Similar
- Toothpick
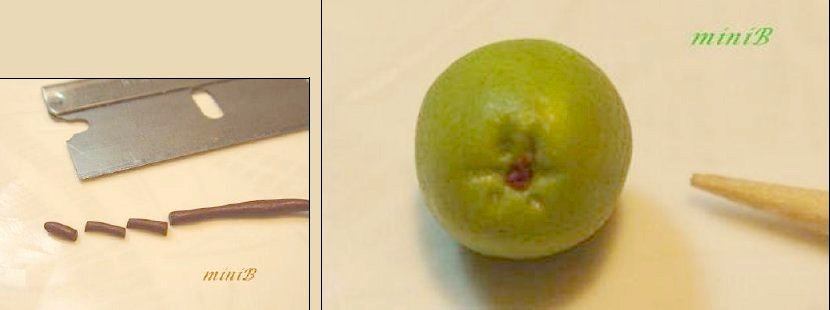
- Razor Blade
- Roller Tool Or Similar
- Varnish: Shiny
- Tile To Bake On
- Talcum Powder
- Baby Wipes
 Close-up images of materials needed
Enlarge picture of basic supply requirements
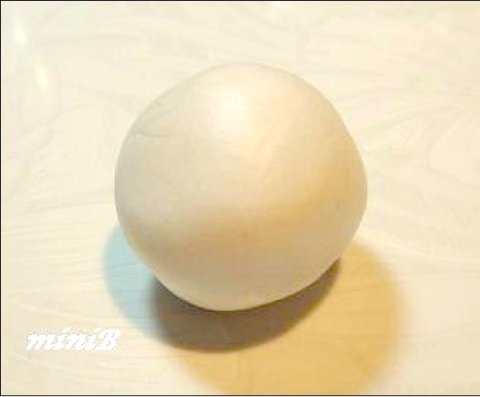
 1. Mixed equal parts of white and translucent clay.
Enlarge picture showing clay mixture
 2. This is the color that you want!
Enlarge picture showing how color of mixture
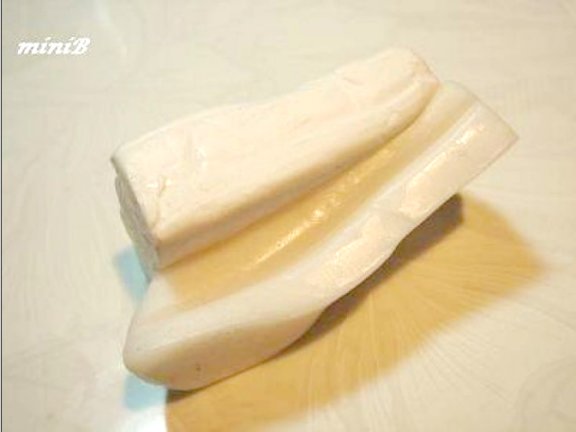
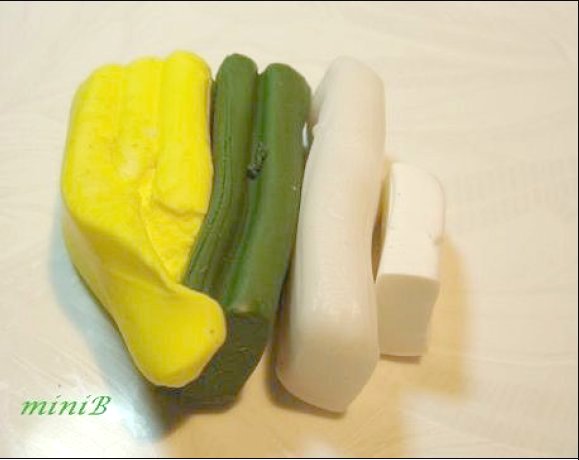
 3. Now mix the rest of the white and the translucent clay with the green and the yellow clay. Proportions are approximately 3:2:1:1/2 (Yellow, Green, Translucent, White).
Enlarge picture showing clay colors to mix
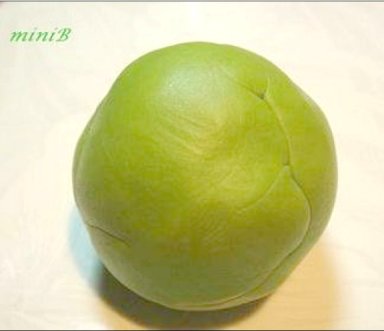
 4. After combining, your color mixture should be spring green in color. This will be use this for the peel of the apple.
Enlarge picture showing how combined clay mixtures
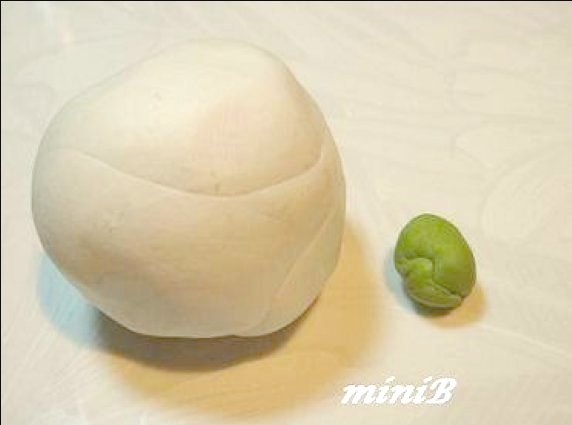
 5. Next you will make the pulp of the apple. Take a small portion of the spring green clay you just made and combine it with the white from Step 1. Reference the image for proportions.
Enlarge picture showing sizes of clay to combine
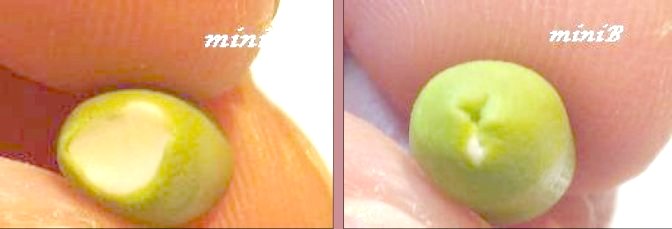
 6. Check the color in the image, this is the color consistency you want for the apple pulp.
Enlarge picture showing the tint of the clay
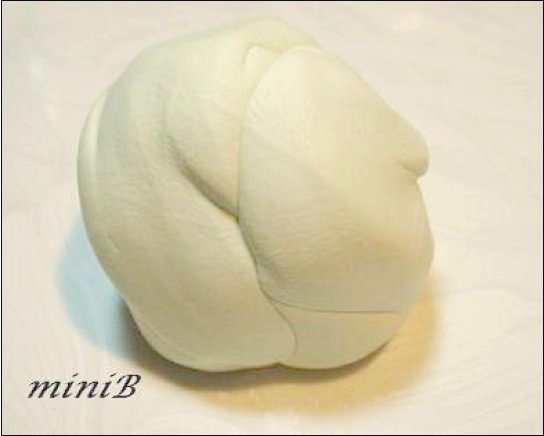
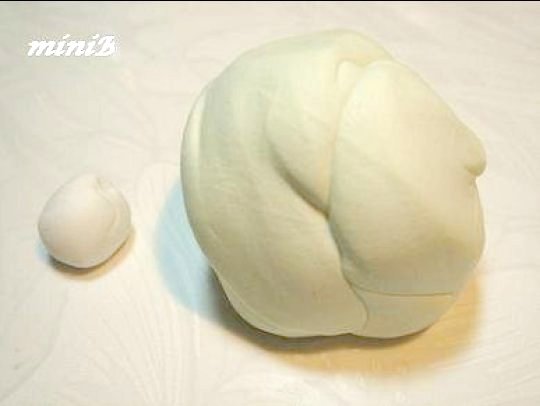
 7. Here you can compare the greenish clay that you've just combined with the white made in the preceding steps.
Enlarge picture showing the tint of the clay
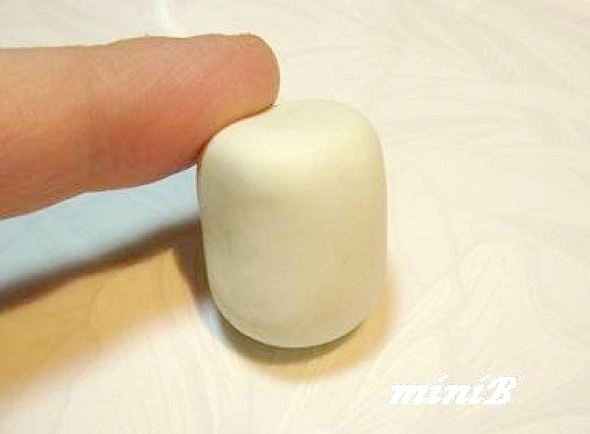
 8. Make a little cylinder shape.
Enlarge picture showing how cylinder shaped clay
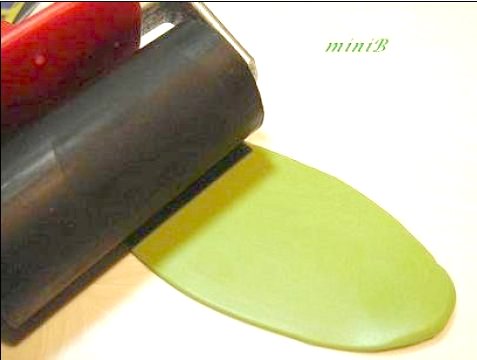
 9. Take the apple skin green clay you've mixed. Using the roller, stretch the clay to make a thin layer of the green clay. If the clay sticks to the roller, dust lightly with the talcum powder.
Enlarge picture showing how to make a thin layer of clay
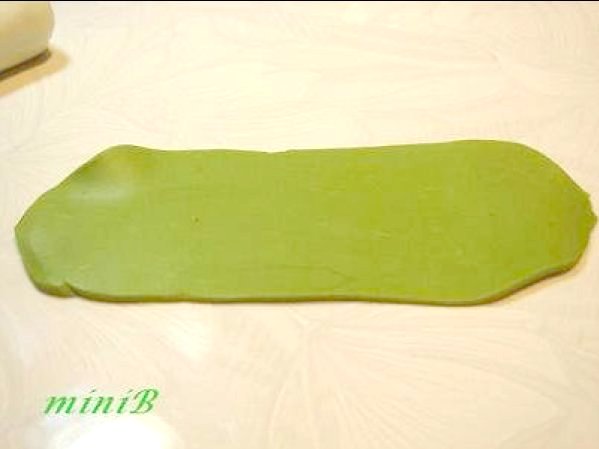
 10. Here is the thin roll.
Enlarge picture showing clay after rolling
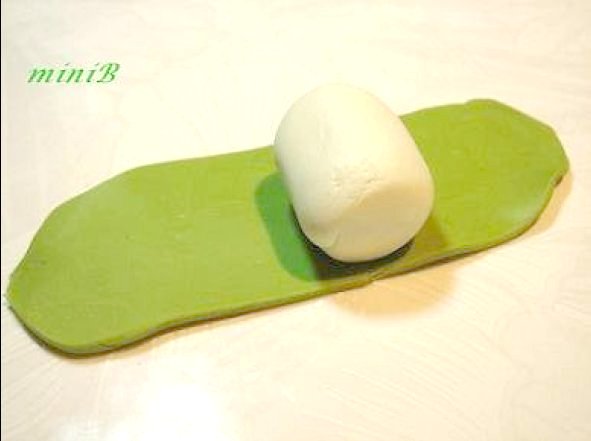
 11. Place the off white/beige clay cylinder onto the green strip of clay.
Enlarge picture showing the combining of inner and outer clays of apple
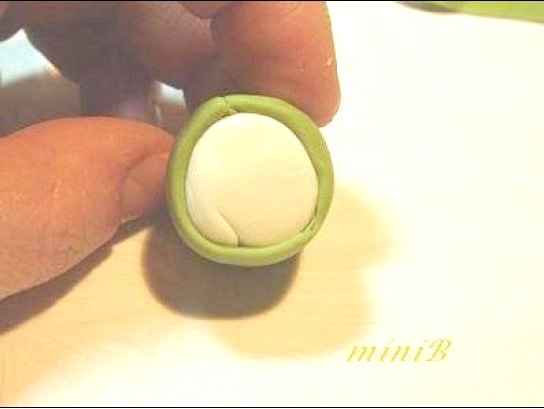
 12. Wrap the green clay around the lighter colored clay; cut off any excess, making the inside clay fit to the edges as shown
Enlarge picture showing the rolled clays
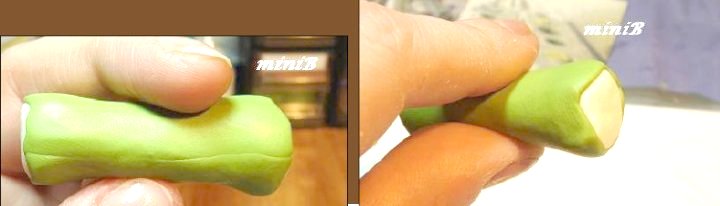
 13. Begin working the clay from the center, working your way to the edges.
Enlarge picture showing how to roll the clay
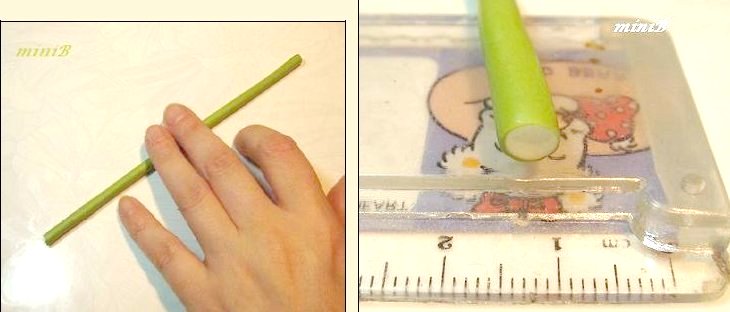
 14. Lengthen the cane by continuing to roll from the center to the edges. Roll until you have an approximate diameter of around half centimeter (approx. 0.20 inch).
Enlarge picture showing approximate length you want to achieve
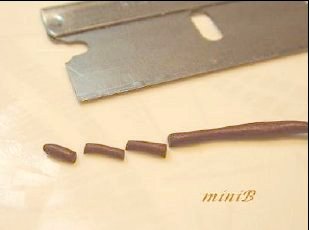
 15. Once you have the diameter you want, cut the cane in long segments around 6-7 millimeters (approx 0.27 inch).
Enlarge picture showing size of cuts
 16. Take one of the cut segments. With your fingers, softly close the two ends of the segment. Form a little ball to form the apple shape. Do not mush the clay in the center. Now slightly lengthened, making the base more narrow (spherical shaped).
Enlarge picture showing how to shape the basic apple
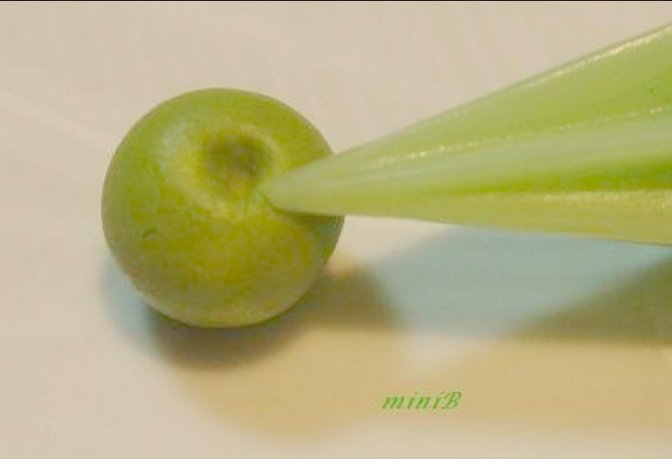
 17. Use your Wilton Industries© flower tool to indent the top part of the apple (hollow).
Enlarge picture showing where to use the tool
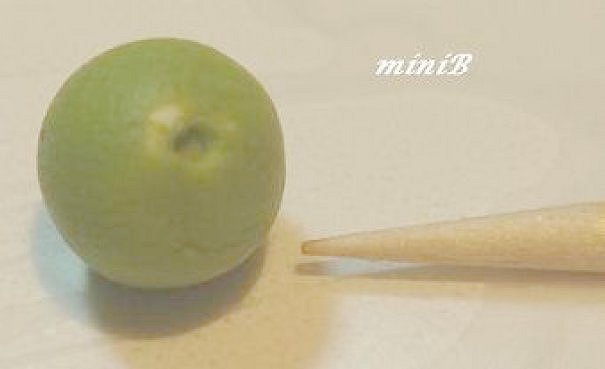
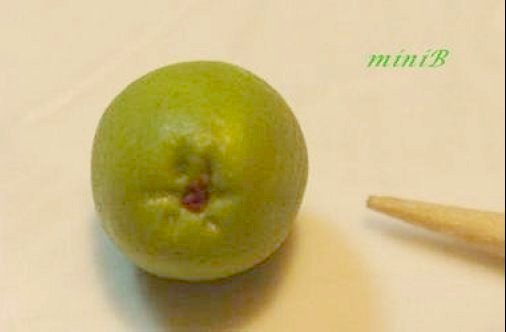
 18. Using your toothpick, make a small indentation hole and score slightly around the hole.
Enlarge picture showing where to use the toothpick
 19. Take a small piece of terracotta polymer clay and roll into an oblong shape to use for the stem. Cut a 1/8 inch length for the stems. Set aside.
Enlarge picture showing how to make the apple stem
 20. With your toothpick, slightly score around the bottom hole of the apple and insert a tiny piece of the terracotta clay into the hole.
Enlarge picture showing how to score the bottom of the apple
 21. How it should look after you've added the terracotta clay.
Enlarge picture showing scored bottom
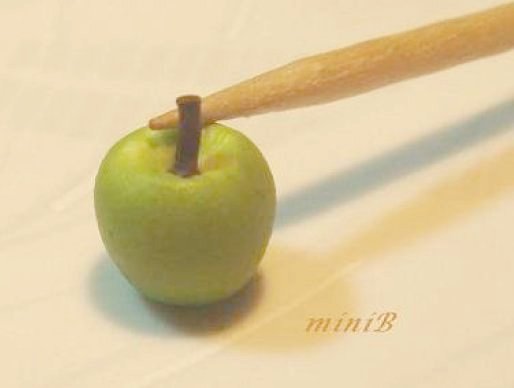
 22. Take a piece of the terracotta stem and insert into the top hole you made with the Wilton Industries� tool.
Enlarge picture showing where to insert the stem
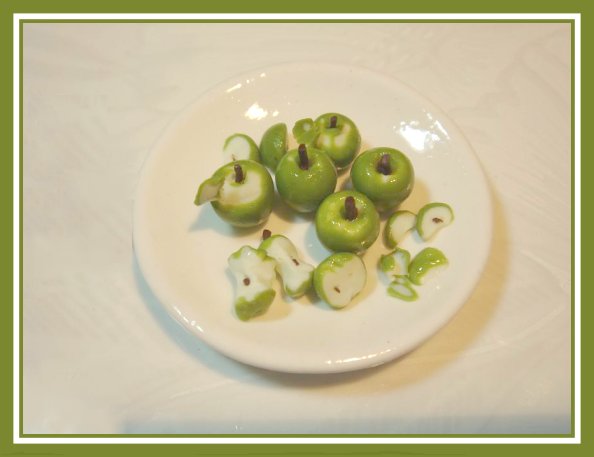
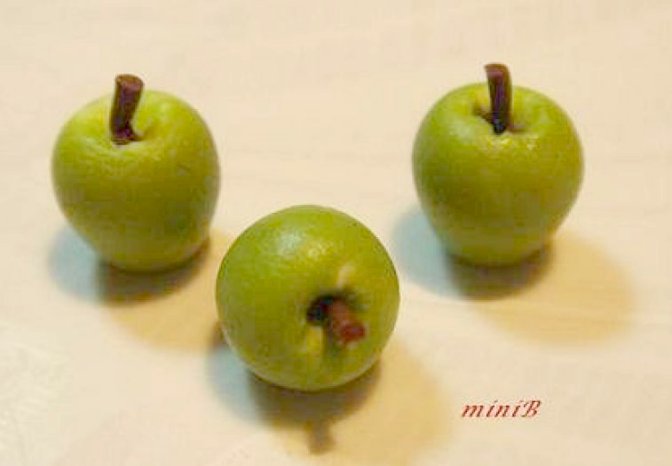
 23. Voil� the completed apples!!
Enlarge picture showing completed apples
VARIATIONS
You have completed making green apples.
In the following steps, you will learn how to take the apples that you just made and create variations including, a half apple, apples slices and core apples.
But before you begin, you will need to cure the apples you just made for at least an hour or place in the refrigerator for around ten minutes. Don�t let the clay near your real food though). Rushing this will result in clay that is too soft.
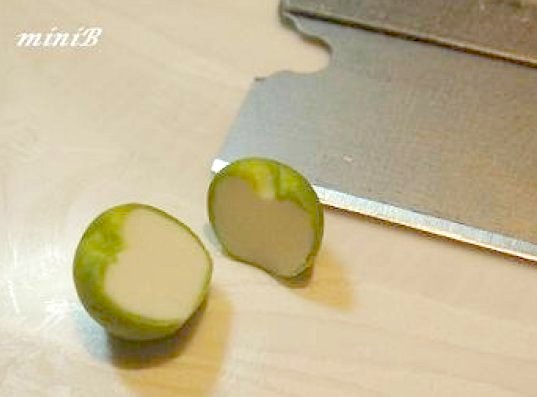
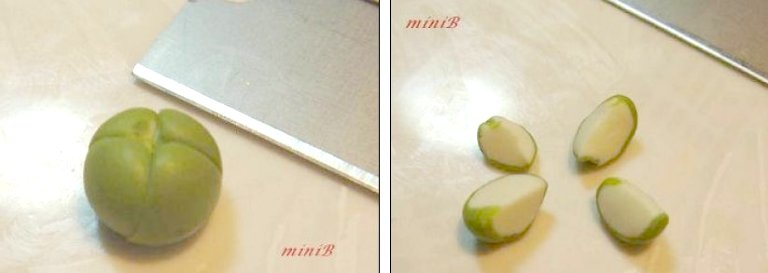
 24. MAKE APPLE HALVES
Using your razor blade, cut one apple in half. Remove the core.
Enlarge picture showing how to slice the apple
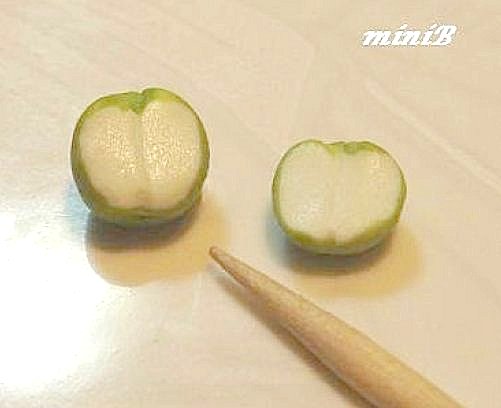
 25. Using the point of the toothpick, score a light dividing line straight down the middle of the apple half.
Enlarge picture showing where to score the apple halves
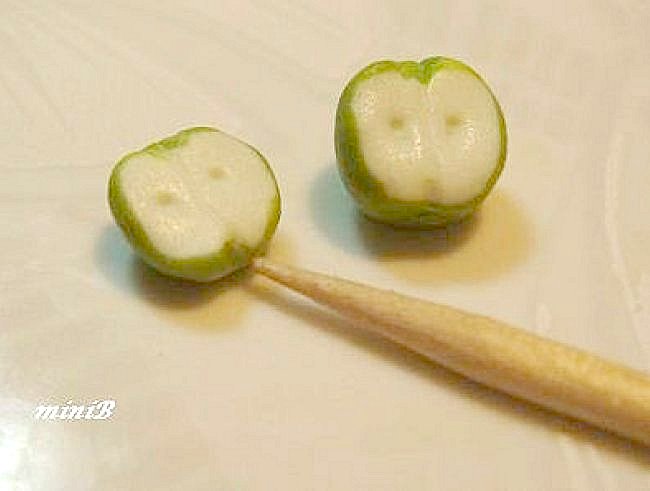
 26. Again using your toothpick, make two points in the center of the apple where the seeds would naturally be.
Enlarge picture showing where to mark the seed areas
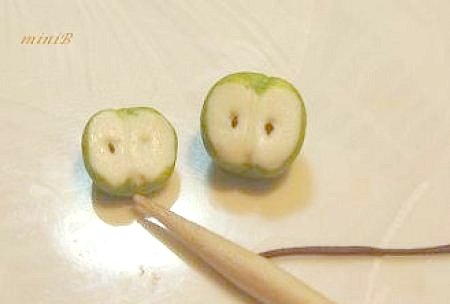
 27. Put a small piece of clay (Terracotta) in the hollows simulating the seeds.
Enlarge picture showing where to place the seeds
 28. MAKE APPLE SLICES
Cut the apple in four equal parts. Always watch out that the clay is hard before you attempt to cut.
Enlarge picture showing how to quarter the apple
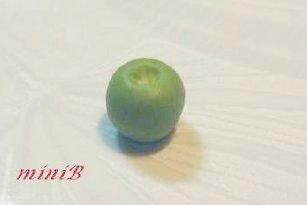
 29. CORE AN APPLE
Select a solid apple.
Enlarge picture showing preparation
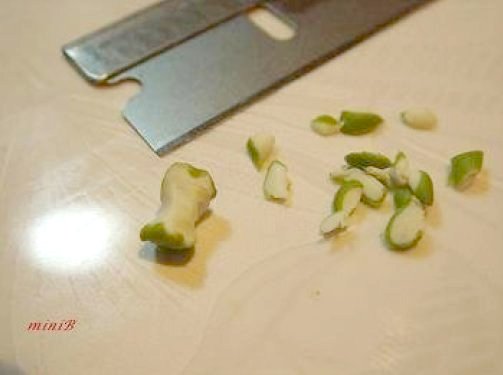
 30. With your blade, begin cutting very thin slices of the apple until you have cored out the entire apple, as shown.
Enlarge picture showing how to core the apple
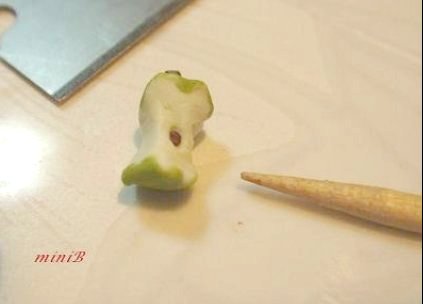
 31. Using your toothpick, score a small indentation to simulate a seed area. Take a small piece of Terracotta clay and insert into the area. This is the seed of the apple.
Enlarge picture showing where to seed the apple
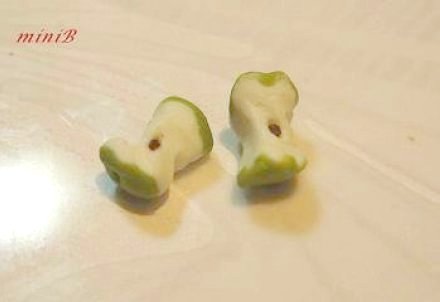
 32. VOILA�!!! Cored apples.
Enlarge picture showing cored apples
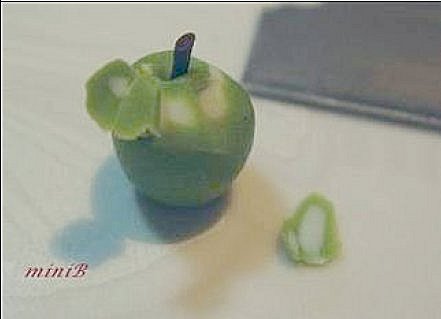
 33. WHOLE APPLE WITH CUT PEEL
Take a whole apple and with the point of the blade, you can peel from the top just like you would do with a real apple.
Enlarge picture showing how to peel the apple
 Italian Translation.
MEET THE ARTIST
 Barbara Dezza is a miniature food artist residing in Italy.
Barbara is a valued member of the CDHM Forums. Visit the CDHM Galleries today.
Barbara Dezza is a miniature food artist residing in Italy.
Barbara is a valued member of the CDHM Forums. Visit the CDHM Galleries today.
©
2008-2012 Barbara Dezza and CDHM.org
Reproduced with permission from Barbara Dezza. All photographs and text appearing in this tutorial are the exclusive property of Barbara Dezza. Permission is explicitly denied for any republication of text or photographs in this article without the prior express written consent of the author.
BACK