


Learn Advanced Wigging
For your Doll or Fairy
by Nicky Cooper
Materials Needed:
- Mohair on the hide ( or loose) (you can also use viscose)
- Fabritac� or Magnatac� (can be substituted for tacky glue)
- Dressed doll to wig
- Scissors
- Wax paper or grease proof paper
- Glass or ceramic tile to work on
- Small pot of water
- Small Needle or pin
- Fine tipped glue syringe or metal tipped glue bottle
Overview
The following techniques will be straightening mohair, different wigging techniques with mohair on the hide. How to wig a man doll. How to make a beard. These are in 1/12th scale where the head is approximately 1.5cms long, but methods can be adapted for larger and smaller sizes.
The following techniques will be straightening mohair, different wigging techniques with mohair on the hide. How to wig a man doll. How to make a beard. These are in 1/12th scale where the head is approximately 1.5cms long, but methods can be adapted for larger and smaller sizes.
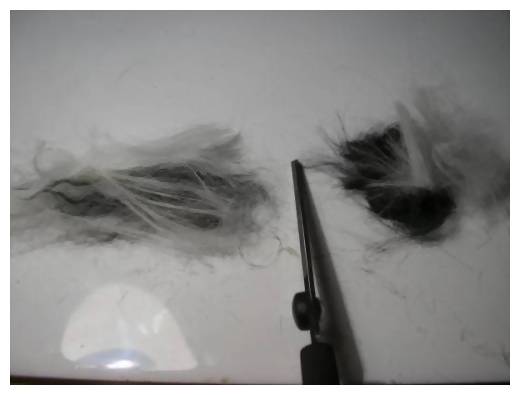
 1. To wig a Wizard (man doll) with mohair from the hide, start by snipping a 1/2" wide weft from the hide.
Enlarge picture showing how to cut the weft.
 2. Next, lay the weft cut on a tile and trim about an inch off of the "fat" end of the weft.
Enlarge picture showing where to fine trim the weft.
 3. To obtain the dark grey colour, I mixed black fibres with white fibres.
Enlarge picture showing color mixes.
 4. After mixing the colours thoroughly put offcuts to one side!
Enlarge picture showing where to trim the offcuts.
 5. Cut the remaining piece into two lengths, spreading them out thinly on your sheet of greaseproof or waxed paper.
Enlarge picture showing how to separate the lengths of mohair.
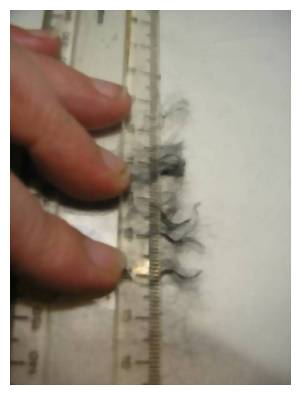
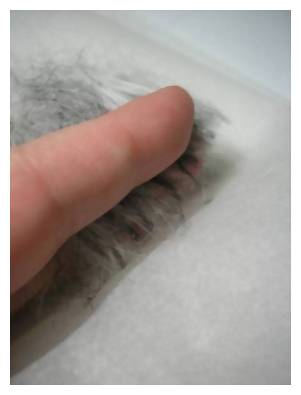
 6. Now take your ruler and hold down onto one-side of the hair, leaving about a � inch of hair sticking out. This will clamp the hair to the paper in preparation of gluing.
Enlarge picture showing where to use the ruler.
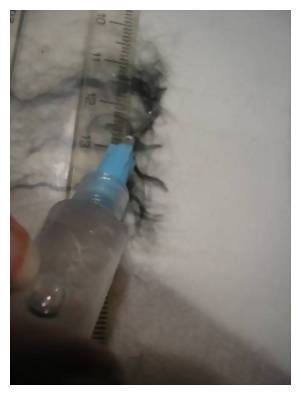
 7. Next, draw a very thin line of glue along the ruler line as close to the ends as possible. Once you have drawn your line, gently use the tip of your finger to drag the glue off onto the edge of the paper. Work quickly as the glue dries fast!
Repeat this step for the other piece of mohair.
Enlarge picture showing where to apply the glue.
 8. If using Fabritac� or Magnatac�: if you use one of these brands of glue, your hair will be ready to be removed within a few minutes. If you are using tacky glue, I would advise you leave this stage overnight to dry.
Remember to make your layers fine and thin! Thick layers of hair will not work as well.
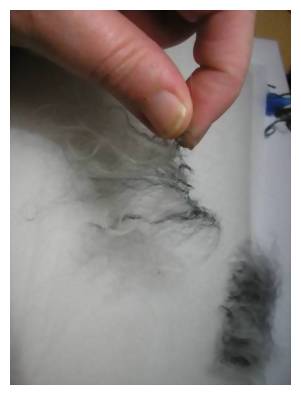
Once the glue has dried completely, gently take the unglued end and lift slightly in order to release the glue from the paper. Ease the weft off gently so that you do not separate the glue and the hair. Slow and methodical!
Enlarge picture oh how to remove the mohair from the paper.
 9. You now have a weft of hair with a very small glue lined edge, which will make it easier to place in rows on your doll's head! This method can also be used for viscose as well as mohair!
Enlarge picture showing controllability of weft.
TIP
If these steps are done using very short strands of hair (which is why it is always a great idea to keep offcuts!) you can easily build up a short hair style by adding very thin continuous rows. The effect will look like its hair that has been micro rooted a bit like a Barbie�'s head.
When wigging most male dolls that have shorter styles, you want very short layers. Glue both sides and then cut down the middle when its dry; this will be easier to do a glue line and clamp the hair down.
 10. Now add a glue line just above the ear and around the back of the head to the other ear. Then fill in below that line to the nape of the neck.
Enlarge picture showing glue line on dolls head.
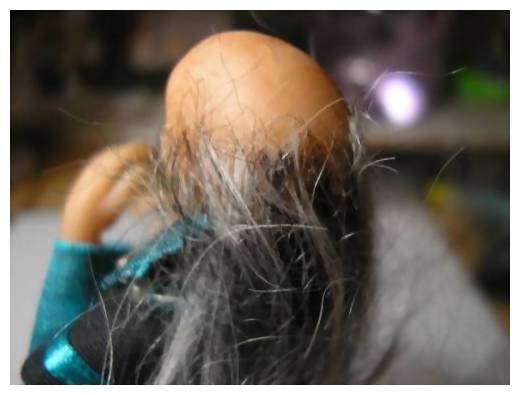
 11. Take a small section from your glued weft and wrap it from ear to ear over the glue line. Press gently to the glue all round and below. Make sure there is a good seal before proceeding. Remember that less glue and less hair will produce better results!
Enlarge picture showing first hair line.
TIP
Mohair has thicker fibres than viscose, so on small scales like 1/12th it can sometimes look bulky unless you use very thin layers.
Mohair has thicker fibres than viscose, so on small scales like 1/12th it can sometimes look bulky unless you use very thin layers.
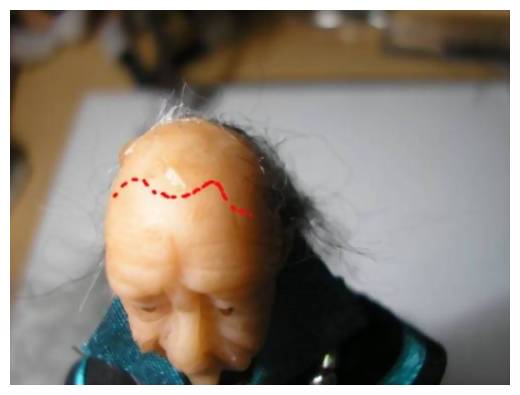
 12. Trim away any excess hair standing out of the glue line. Using your glue syringe draw a receding hair line and fill in behind it to your line of hair at the back.
Enlarge picture showing where to trim and glue.
 13. Now take another piece of weft, this time place the glued end toward the back of the dolls head, following the glue line, allowing the loose hair to drape over the dolls face.
Enlarge picture where to layer the next weft along the hairline of the head.
 14. Before preceding, make sure there is a good glue seal on either side where this layer meets the other weft.
Enlarge picture showing where to check the glue line.
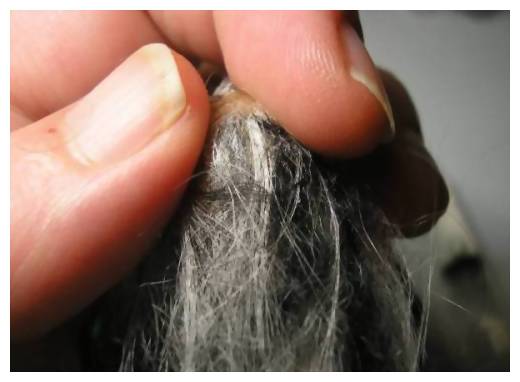
 15. Press the hair line down firmly. Check that the glue has sealed.
Enlarge picture showing where to check the back glue line.
Q&A
Q: Fabritac� doesn't dry in the syringe?
A: Draw the Fabritac� up into the syringe and then I add the nib. Once full and before you add the nib turn the syringe upside down and flick the stem a few times to clear any air bubbles from the syringe body.
Another suggestion that will keep the glue fresh over night (or even a couple of days) in the syringe is to add a touch of Vaseline� (petroleum jelly) to the tip of the applicator. Bottles with metal tips work just as well too if anyone has a phobia of needles!
Try and store the syringe in an upright position, you will find that a little bead will form on the top of the syringe. The bead of glue dries to the outside and seals the syringe nib. These make handy tear drops or dew drops!
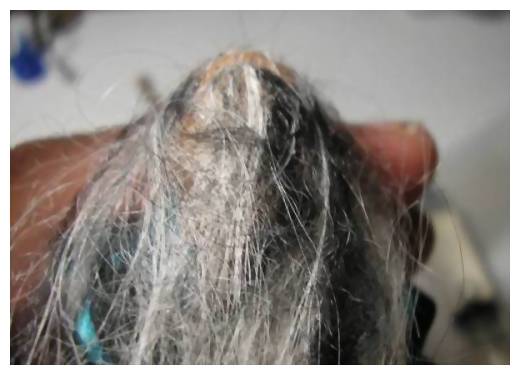
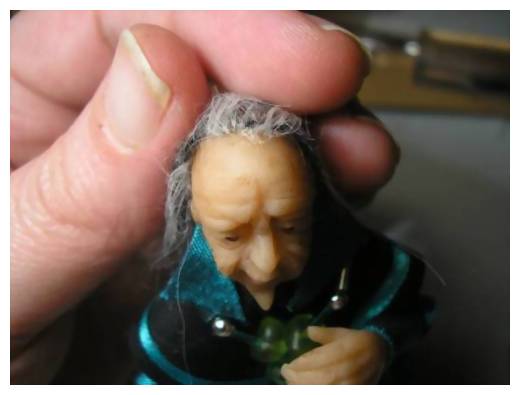
 16. When you are sure the glue is dried, lift the hair back and pull down and over the glued section toward the rear of the head.
Enlarge picture the pulled hair over the head.
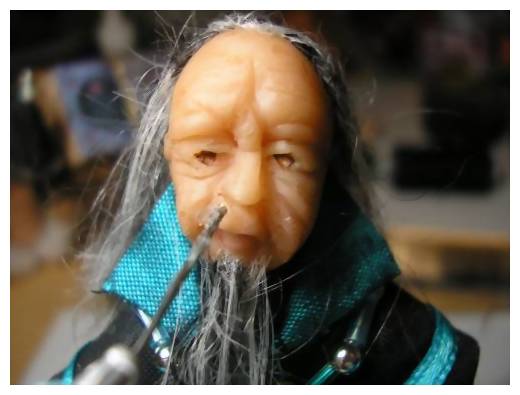
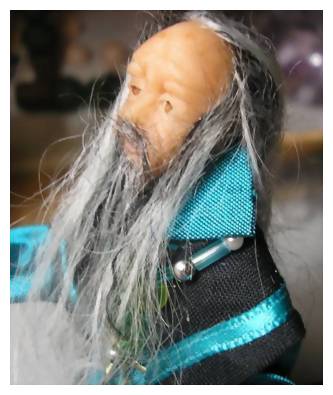
 17. Now you are ready to make the beard! If I am going to add a long beard, I sculpt the chin into the shape of the beard. This makes it easier to place the hair. Pull away a very fine section of mohair, add a dab of glue to the end and give it a slight pinch. Add another dab of glue and place at the chin.
Enlarge picture showing how to make the beard.
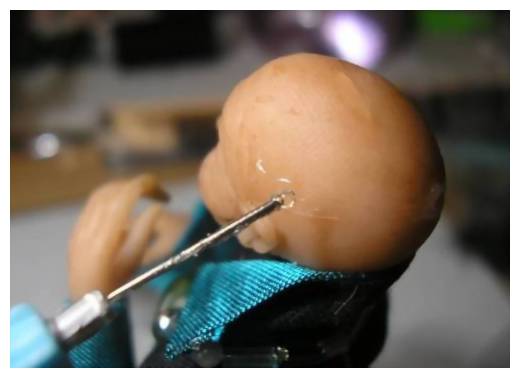
 18. Draw a very fine line of glue between the top lip and the nose.
Enlarge picture showing where to glue for the beard.
 19. TTake a tiny section of hair and place along one side of the upper lip.
Enlarge picture showing where to begin gluing beard.
 20. Take another tiny section of hair and repeat on the opposite side. Now take a small piece of mohair and add it to the middle of the upper lip to complete the mustache. Trim off any strays hairs.
Enlarge picture showing how to complete the mustache.
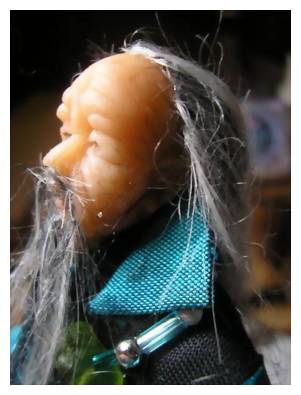
 21. Now onto the sideburns! Glue a line from the upper hair line down to your beard. Take a small section of mohair and place the hair along the glue line. Using a pin, gently slide the ends of the beard up under the upper hair line.
Enlarge picture showing how to create the sideburns.
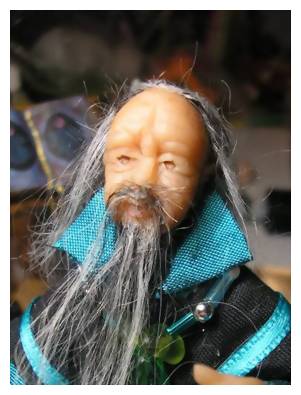
 22. Trim up any stray hairs and trim the beard/hair as required.
Enlarge picture showing where to trim the beard.
TIP
I used hair gel to smooth the hair into place. You can also use fabric stiffener to style the hair.
I used hair gel to smooth the hair into place. You can also use fabric stiffener to style the hair.
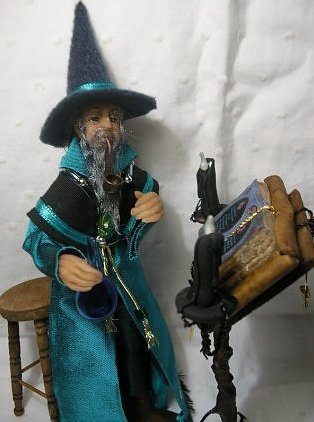
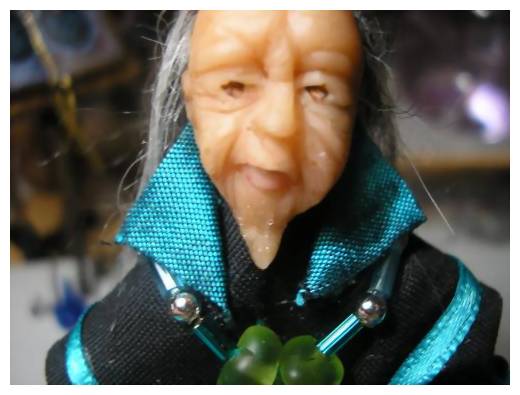
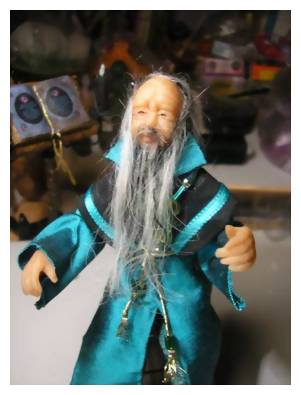
 23. The Finished Wizard Doll.
Enlarge picture showing finished wizard doll.
 1s. Cut a small piece of mohair close to the hide, no greater than �" wide.
Enlarge picture showing how to cut mohair.
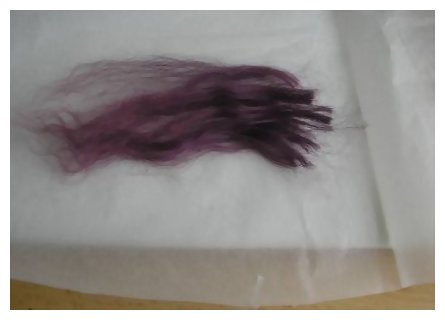
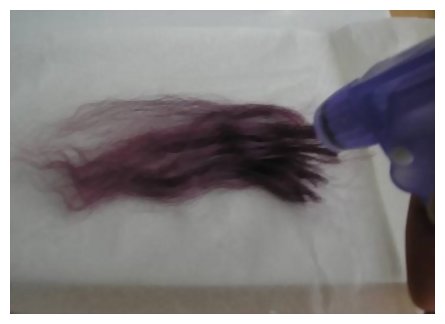
 2s. Next, lay the mohair on a sheet of waxed paper (wax on the inside) or greaseproof paper and spray liberally with water.
Enlarge picture showing how to wet mohair.
TIP
If you don't have a water sprayer dip the hair in water, however do not shake off the excess but place it straight on the paper.
If you don't have a water sprayer dip the hair in water, however do not shake off the excess but place it straight on the paper.
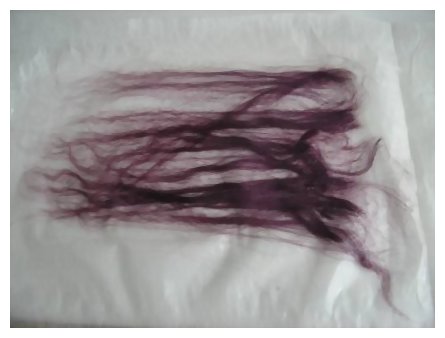
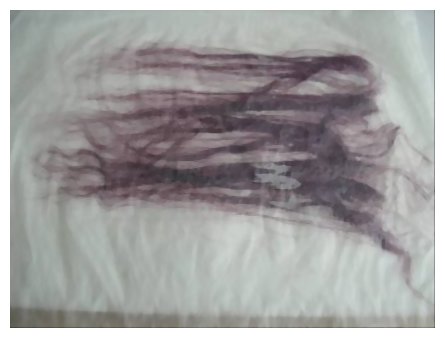
 3s. Smooth the mohair till it adheres to the wax paper.
Enlarge picture showing how to dry the mohair.
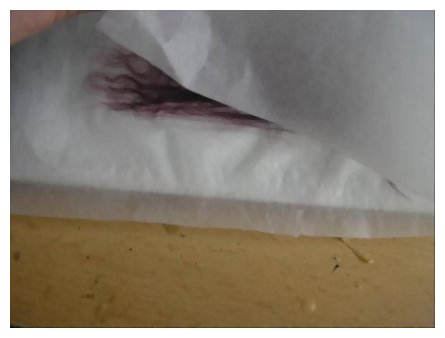
 4s. Fold a piece of waxed paper (or greaseproof) over the top.
Enlarge picture of folding the wax paper over the mohair.
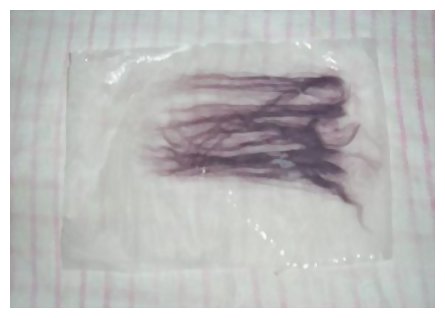
 5s. Seal both sides of the wax paper together and give a quick spray of water.
Enlarge picture showing how to seal the wax paper.
 6s. Place a tea towel on your ironing board and then place the sandwiched piece of mohair on top.
Enlarge picture for ironing preparation.
TIP
Wax paper gives better results as it actually adds a lovely sheen to the hair, as well as holding it firmer (almost like a setting lotion). You can add a setting lotion into the water that you are spraying but it can leave a slick residue on your iron.
Wax paper gives better results as it actually adds a lovely sheen to the hair, as well as holding it firmer (almost like a setting lotion). You can add a setting lotion into the water that you are spraying but it can leave a slick residue on your iron.
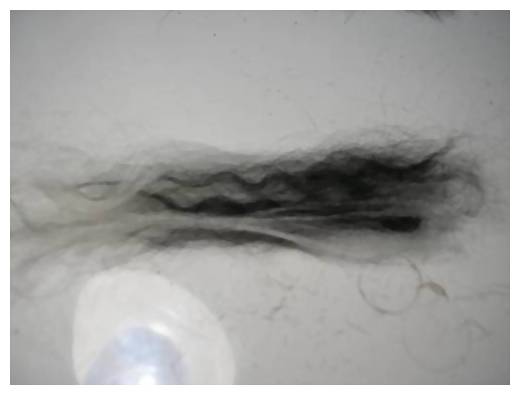
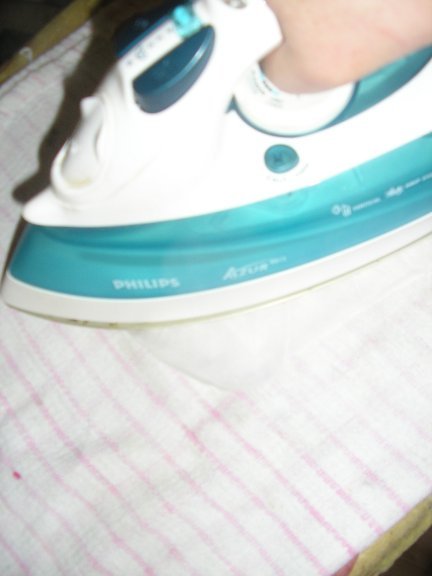
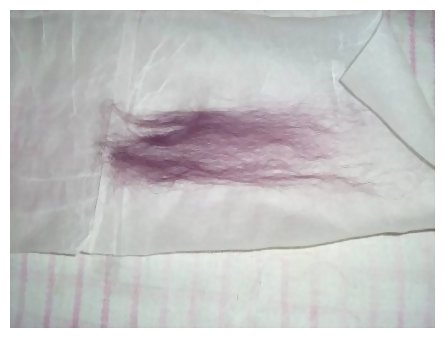
 7s. Put your iron on the hottest steam setting. Now very slowly, move your iron over the wax paper. Do not rush this part! Small and steady paces!
Enlarge picture showing how to iron mohair.
 8s. Respray the mohair and sheet again. You will find that each time you pass the iron over the wax paper it will be easier to separate the fibres and spread them out thinner! Repeat this process a few times.
Enlarge picture showing steps to continue ironing.
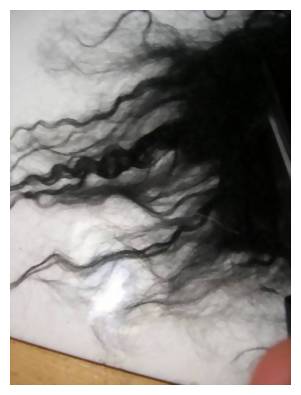
 9s. Keep opening up the paper between each sweep of the iron. Do not let the hair dry out too fully between each sweep. Mohair will never go silky smooth but will straighten!
Enlarge picture showing how to check progress.
TIP
Remember to move the iron very slowly! Keeping the mohair spread out well and in thin strips! It is a very slow process so don't rush it. To give you an idea, I wet and ironed again the weft about five (5) times to obtain the end result. Some hair on the hides will iron out a lot quicker and some a lot longer. Each batch of mohair will be different.
Remember to move the iron very slowly! Keeping the mohair spread out well and in thin strips! It is a very slow process so don't rush it. To give you an idea, I wet and ironed again the weft about five (5) times to obtain the end result. Some hair on the hides will iron out a lot quicker and some a lot longer. Each batch of mohair will be different.
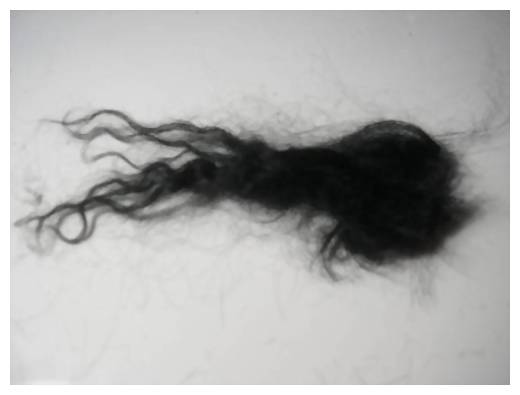
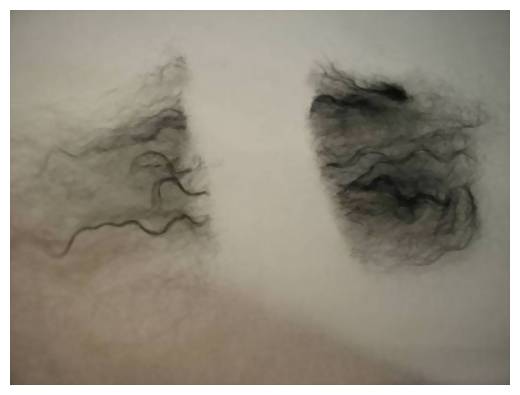
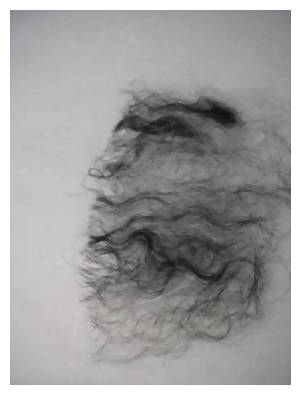
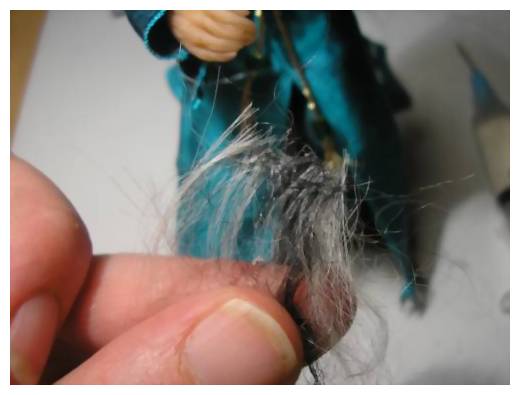
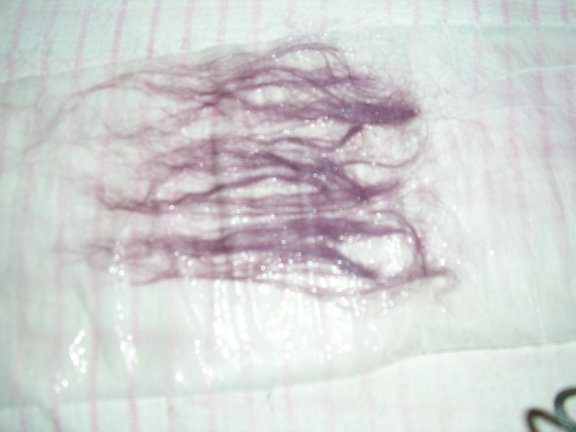
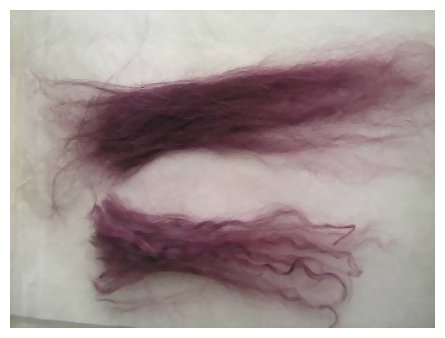
 10s. This piece in the image was cut at the same time and then divided into two separate pieces to show the natural piece and the processed piece we've just completed. The ironed weft is very fine and straight and grows at least an inch longer than the original.
Enlarge picture showing mohair comparisons.
MEET THE ARTIST
 Nicky Cooper lives in Dunstable, UK. Nicky says, "for me as well as many other doll makers, it is a labour of love. You are only restricted by your imagination and thats something I have plenty of! There is not a day that goes by when I do not learn something new and I am always striving to continue to improve my skills and learn new aspects within the miniature world".
Nicky is a valued member of the CDHM Forums. Visit the Galleries today.
Nicky Cooper lives in Dunstable, UK. Nicky says, "for me as well as many other doll makers, it is a labour of love. You are only restricted by your imagination and thats something I have plenty of! There is not a day that goes by when I do not learn something new and I am always striving to continue to improve my skills and learn new aspects within the miniature world".
Nicky is a valued member of the CDHM Forums. Visit the Galleries today.
© 2007-2012 Nicky Cooper
Reproduced with permission from Nicky Cooper. All photographs and text appearing in this tutorial are the exclusive property of Nicky Cooper. Permission is explicitly denied for any republication of text or photographs in this article without the prior express written consent of the author.