CDHM The Miniature Way
April 2011, Issue 15
Tutorial: Cracked Eggs
Page 30
Tutorial with Veselina Koleva
April 2011, Issue 15
Tutorial: Cracked Eggs
Page 30

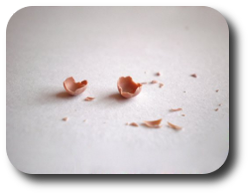
Step 16
Don't go too far with the zigzag
because the eggs won't look realistic.
I think something like this is enough.

Step 17
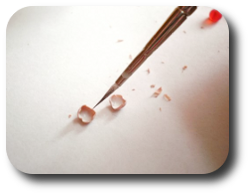
Put a little white acrylic paint on a piece of aluminum foil or in your palette tile and some water in a bottle cap. Dilute the paint and with the rigger brush carefully paint the inner side of the egg-shells. The easiest way to do this is to 'fill' them with the diluted paint (actually colored water) using your brush and to let them dry. Do not get frustrated if your whole eggs turn out white - just wipe off before the paint has dried and start again.

Step 18
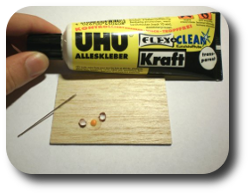
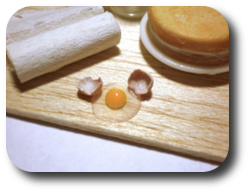
The next step is gluing it all together to a board or kitchen table. You may choose to do this step later if you are not sure where you want to glue your broken egg. First decide what the positions of the shells will be and then with a needle or a toothpick take a small amount of glue and put it on the bottom of the raw egg and on the egg shells. Place them however you wish and wait for the glue to dry.

Step 19
Put varnish on the inner sides of the shells and on the raw egg. Wait to dry and put a second coat. The broken egg will look more liquid and therefore more realistic.


